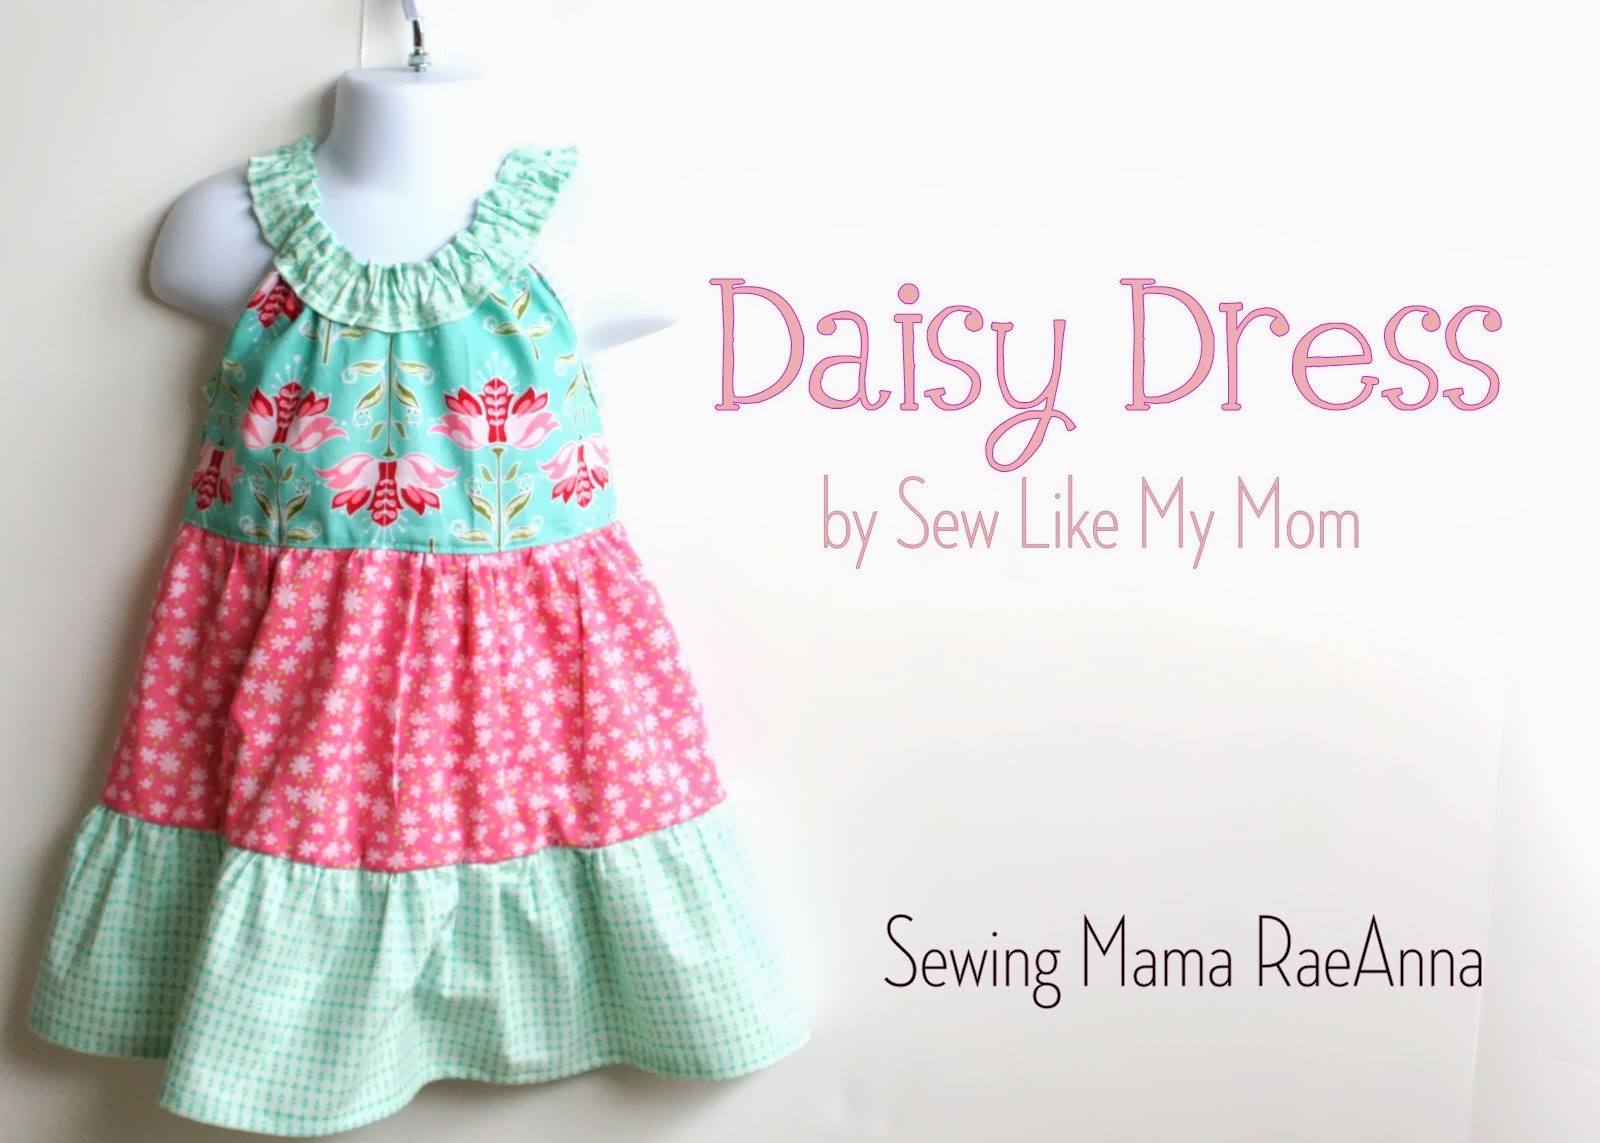
At long last!!! I've finally made a tutorial for the dress I made back in October! (Read about it here - it's a knock off from one of the Smocked Auction dresses)
***UPDATE - the finished pattern is available! Read about it here!****
I've had several people say I should make a tutorial so that is exactly what I'm bringing you today! There will be a graded version for purchase in the near future but you will also get a second style along with the dress pattern. A "View A" and "View B" - but I'm jumping the gun and putting up this post before "View B" has been conceptualized!
This is a super popular style for monograms and that is what I'll be doing with this adorable black and white chevron! I didn't have time to add the monogram but when the pattern is available I'll put some pictures up of my sweetie niece in her dress (and of course Aunty Rae-Rae will make a matching bow!)

*Disclaimer - this is only a tutorial......the pattern is available in the shop!*
SUPPLIES
A bodice pattern to draft your size
Tracing paper
Fabric (not sure on yardage - I think I used 3/4yd for a 3m)
Button(s)
Sewing machine/thread/notions

Here are the pattern pieces that I used to create the 3 month. I will give you my measurements and you can determine what you will need for your size. I have a sizing chart here that might be helpful!
Starting from top left -
BODICE FRONT MAIN - 2 pieces - 1 cut on fold, the sides are cut 2 mirror.
(Take your bodice pattern and cut about an inch away from the neck line to separate the pieces.)
BODICE BACK MAIN AND LINING - cut 2 mirror for main and lining fabric.
SLEEVE - cut 2 on fold
underneath the sleeve is the SLEEVE BOTTOM RUFFLE. For 3m I cut 14"long by 3"tall (2)
BODICE FRONT LINING - cut 1 on fold
BODICE FRONT RUFFLES - cut 2 - 3.5"long by 12"tall
SKIRT - cut 2 - 25" long by 13"tall (I originally cut it 9 inches tall but it was more of a tunic on my niece than a dress. It needed about 4 extra inches.)
OK - let's get started!!!
Lay out your bodice front pattern pieces. Fold the ruffles in half longways wrong sides together.
-
Sew a gathering basting stitch on the raw edge of both ruffles. Gather to fit the height of the bodice.

Sew a gathering basting stitch on the raw edge of both ruffles. Gather to fit the height of the bodice.

pin the ruffle raw edges together with the bodice front. Sew in place.


Now lay the side piece on top, sandwiching the ruffle. Sew and finish the seam.

Press the seam to the middle of the bodice and top stitch in place!

Repeat for the other side!

Here's the back side view.

Now, attach the back section at the shoulders - place fabric right side together and sew only the shoulder seam. Repeat for the other back section.

Finish shoulder seams and press to the back

Construct your bodice lining by placing the back and front right sides together and sew the shoulder seams.

Now, attach your bodice MAIN to your bodice LINING! Place right sides together.

Pin all the way around the neck and down the back center.

Sew around the neck curve and back - clip curves and corners.

Now, turn everything right side out - your side seams/armholes and
bottom seams are still unfinished with raw edges. We are going to sew
the side seams now so that we can attach the sleeves to the armholes as
"set in" sleeves. I found this to be the best way to have a nice
looking sleeve. I've sewn sleeves in "flat" before which is where you
leave the side seam unfinished and sew all the way up the side seam and
the bottom of the sleeve. With this type of bodice a set in sleeve is
the way to go!
To sew your side seams, put the lining sides right side together and sew and the main sides right side together and sew. Repeat for the other side. Finish the seam and press to one side.

Now for the sleeve construction!!! Sew a basting stitch at the top of your sleeve curve - about 3-4" long. We'll use this to help fit the sleeve to the armhole

Fold in half and sew the short end of the sleeve. Finish the seam.
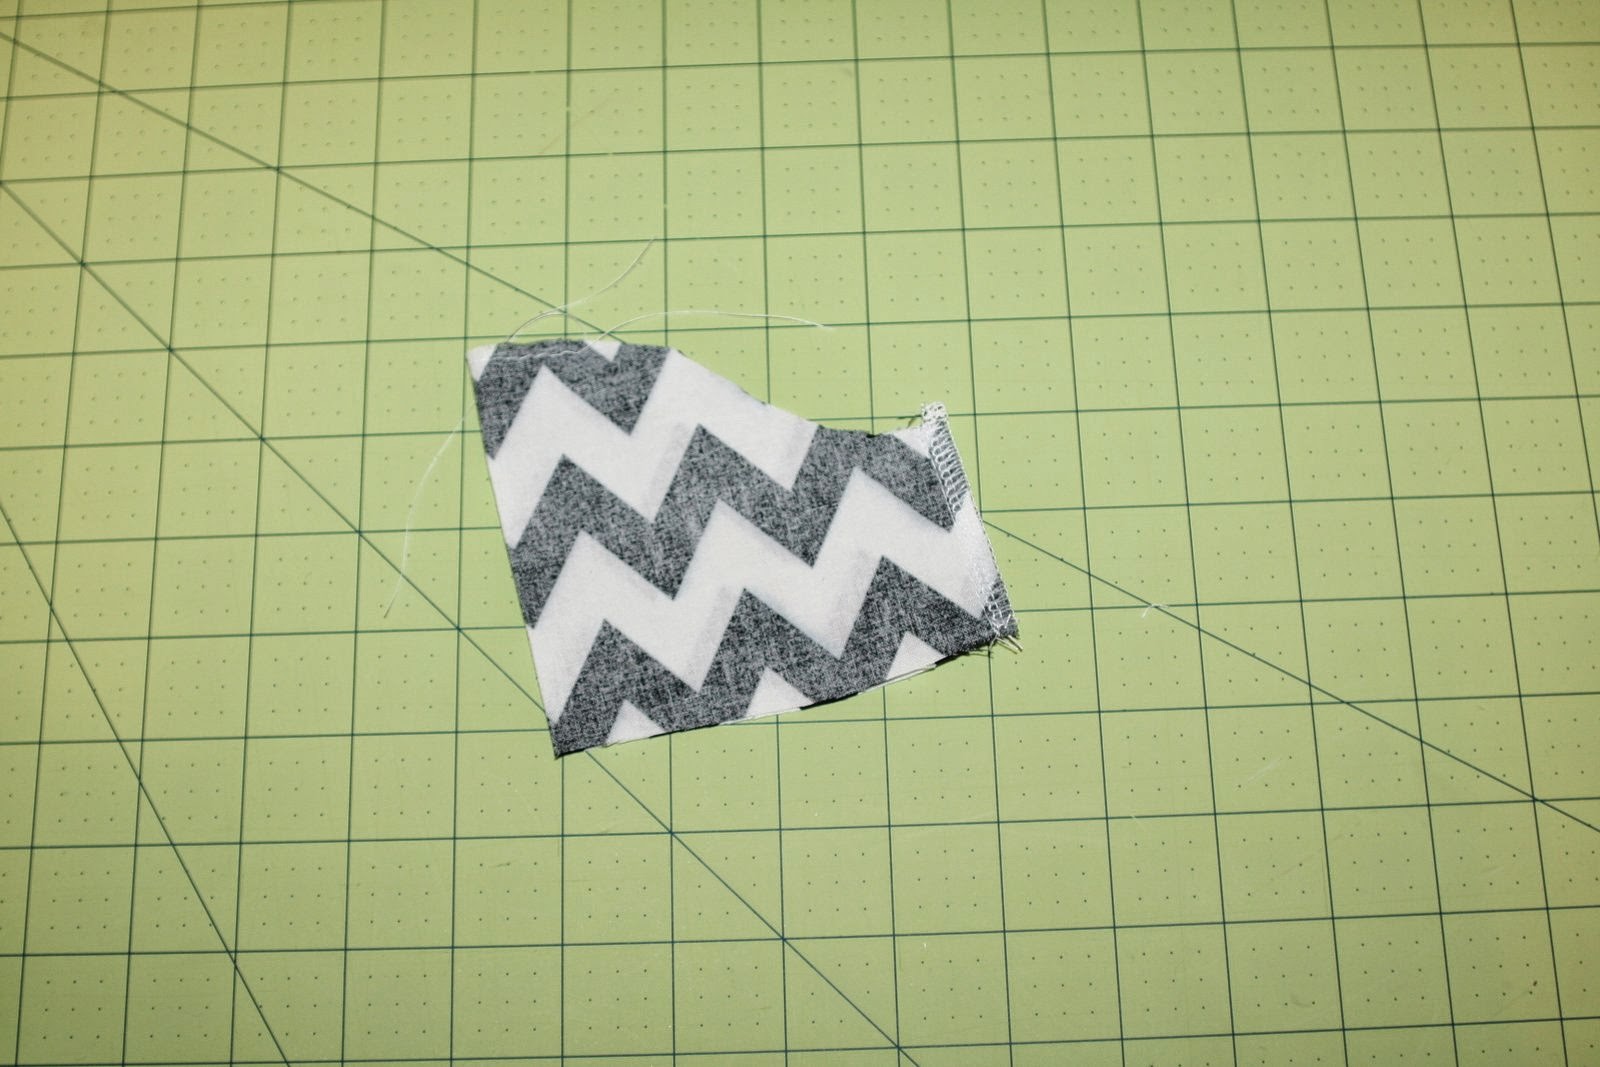
Now let's "set in" these sleeves! Here's a view of the inside of your dress.

Pin the sleeve right side together with the right side of the main bodice. Line up the underarm seam with the side seam. Use the basting stitches to center the top of the sleeve and pin in place. Sew and finish the seams.
Pin the sleeve right side together with the right side of the main bodice. Line up the underarm seam with the side seam. Use the basting stitches to center the top of the sleeve and pin in place. Sew and finish the seams.

Now, take your sleeve ruffle pieces and sew the short ends together to make a tube. Finish the seams.

Hem the bottom of each sleeve ruffle

Sew a gathering basting stitch along the top of the sleeve ruffle.

Gather and pin to the bottom of the sleeve with right sides together. Sew and finish the seam.

Now let's move on to the skirt! Sew the sides seams together and finish the seam.

Hem the bottom of the skirt

Add a gathering basting stitch to the top

Match up the side seams of the skirt with the side seams of the bodice. (Right sides together with the bodice main fabric and the skirt fabric.) When you are looking at the back of the bodice, overlap the back and pin in place. Just watch out for that pin as you attach the skirt to the bodice!

Gather the skirt until it fits against the bodice. If you want it to look like the Smocked Auctions dress, put most of the gathers in the center of the bodice and let the sides be less "ruffly".


Gather the skirt until it fits against the bodice. If you want it to look like the Smocked Auctions dress, put most of the gathers in the center of the bodice and let the sides be less "ruffly".
Don't forget the pin at the back! :) Sew the skirt to the bodice (main and lining.)

Finish the seam and make sure you "caught" the bodice lining along with your main fabric and skirt.

Press your skirt seam up to the bodice and top stitch in place. Add buttons or snaps to close the back! Since this is an itty bitty dress (3months) I just added 1 snap to the top but I think larger sizes would look good with 3-4 buttons and buttonholes.

sdf
The look of this dress is so adorable and I can't wait to sew another for Eva Mae!

I think contrasting ruffles would also really stand out and look cute!


Thank you so much!
And don't forget to check out my 2 free patterns!