

This is a stray away from my typical sewing posts but I wanted to share this adorable idea with you!!!

Last year I remember seeing Shutterfly promote some of their Holiday pictures with hanging pinecones and I LOVED the idea! I was selected again this year to host a Shutterfly House Party and I thought it would be perfect to string some of these up in the backyard and take some pictures for the friends that come to my par-tay! If you're not familiar with House Parties, basically a company sends you promotional materials and freebies in exchange for you talking about their product! Since I pretty much pay a small fortune to Shutterfly each year I'm always on the lookout for more coupons and freebies!
Also, something I did a little differently than what might be expected - I created satin bias ribbon instead of buying ribbon at the store. Depending on how much you need, this can be a much more affordable craft if you get a half yard of fabric rather than several yards of ribbon!
For me, this project cost a whopping $0.00 since I picked the pinecones from the backyard of the cabin we stayed at in Gatlinburg!
MATERIALS:
1/2 yard satin fabric
Cutting mat and rotary cutter (optional - use scissors if you don't have this!)
Pinecones!

To illustrate how I cut the ribbon, I used a sample square of the fabric to show you how to fold. When I tried to use my yardage it just looked so messy and confusing!
Take your fabric and fold one corner to another this folded edge is your bias grain.

Fold again, taking the bottom of the folded edge up to the top.

Cut along this folded edge half - the first cut will be half of what you want your width since it's on the folded edge.

Continue cutting strips - you may want to try a project based on the No Big Dill - It's "OK to be Biased" Skirt! I used several kinds of bias strips for last season's PR&P sew along challenge!

You can attach to the pinecones in various ways! I took two long strips and tied a bow and attached to the pinecones by wrapping it around the top. You could also attach at the top with a pin or tack.


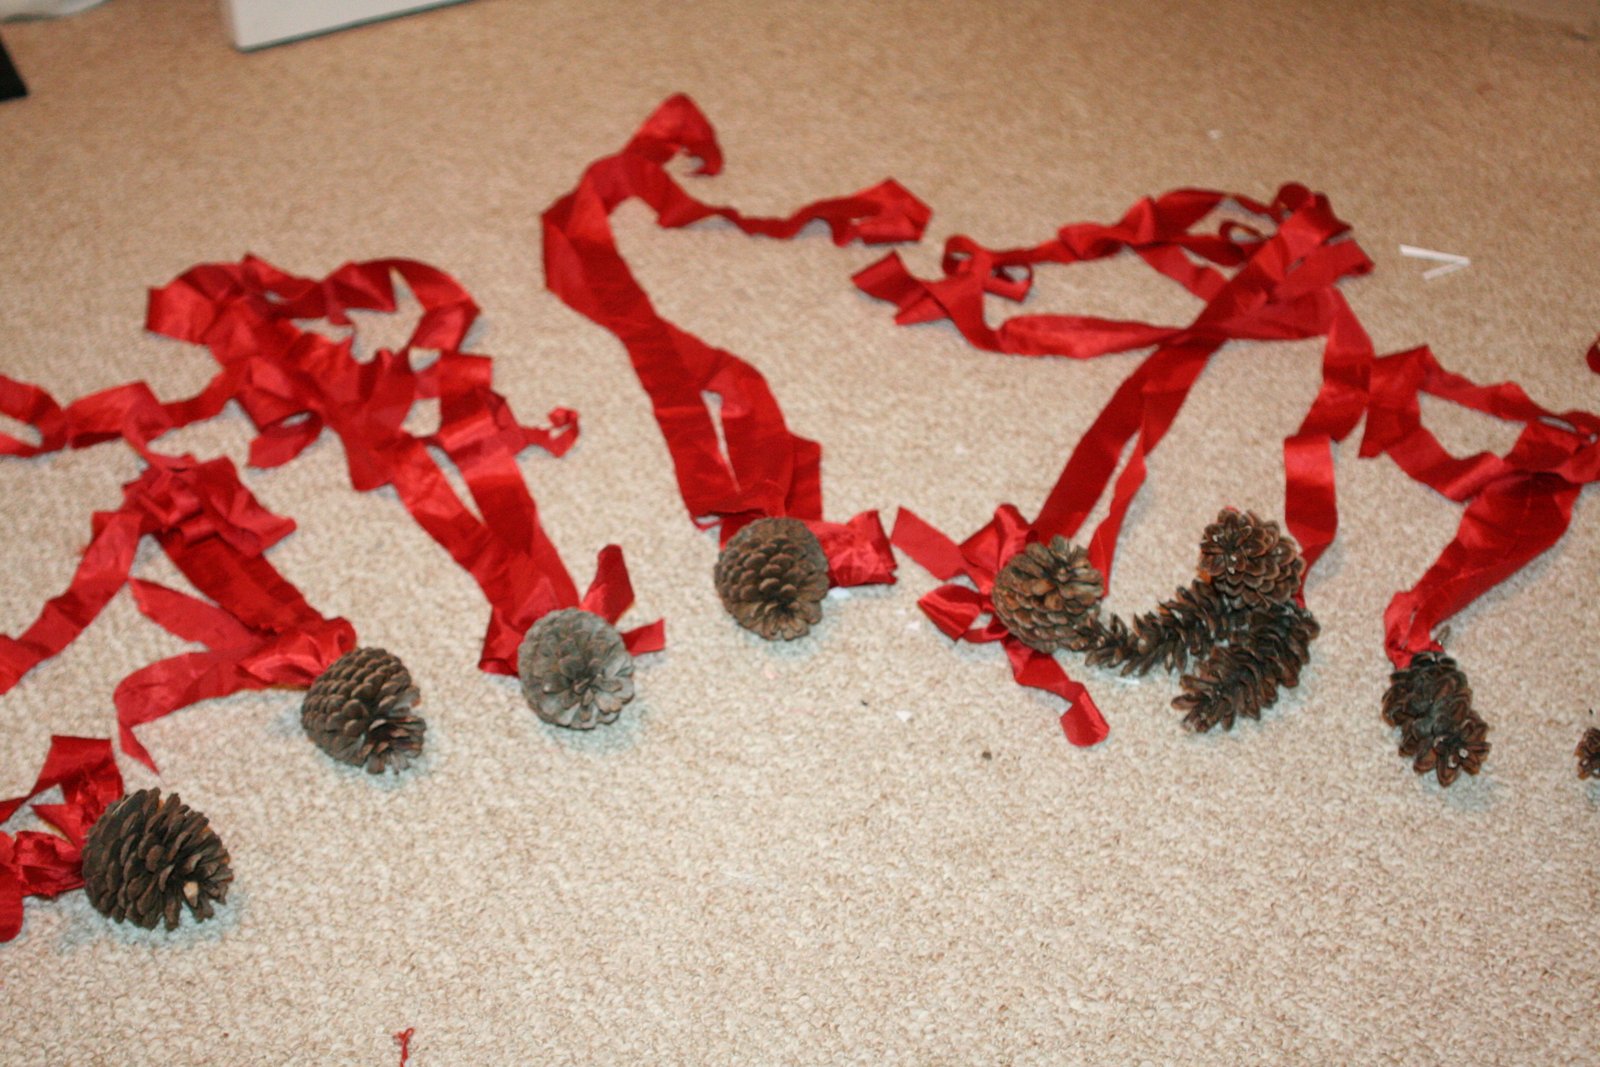
Hang at different lengths from the tree branches and you have an adorable photo prop!

And for the last step, find an adorable model! Happy 11 months Eva Mae! :)


Other link parties:
http://www.theshabbycreekcottage.com/2012/11/transformation-thursday-no-177.html
http://www.momnivores-dilemma.com/2012/11/creative-juice-thursday-features-and-link-up-2.html
http://brandyscrafts.blogspot.com/2012/11/creating-homemade-holiday-link-party.html

That is so attractive and clever!
ReplyDeleteThis is a fabulous Christmas photo background AND outside seasonal decoration all in one. I'm loving it and eyeing up all of my trees to see if we can pull it off.
ReplyDelete