Pages

header2

Image Map

adsense

Saturday, December 7, 2013

Eva Mae's Button Party


MY BABY IS TWO!!!!
How is that possible?!  It doesn't seem like a whole two years since I was cuddling her in the hospital after a quick and beautiful Hypnobaby birth!!!  Just like the theme of this party, she is as cute as a button and getting cuter every day!


I am obsessed with Pinterest party planning!  I loved the idea of pairing two sizes of plates to create button hanging decorations!!! 


I wish I could take credit for the cake, but the very talented Dorea at Tis So Sweet created this masterpiece!!!
 

I did make these cute fondant buttons for cupcake toppers though!!!  I love the way they turned out and it was my first time playing with fondant.....it's big people play-doh!!! 
 
 If you like this theme and want to make button fondant molds you should get THIS Wilton mold! (affiliate link) 


I hung a few button plates from the kitchen cut out as well (like the paper airplane mobiles from Christian's party!) 
Our activities started with the book "Pete the Cat and His Four Groovy Buttons" and I read while the kids helped with some of the repetitive texts (and Eva Mae danced to our "rap!") We went to the table and made some button bookmarks!  It was the perfect way to get rid of some of my buttons in my button stash!!!  We just used a glue stick to cover one side of the cardstock and stuck the buttons on!  They dried during the party so the kids could take them home with their favor bag!
 

I probably could have been more creative with the favors....I just picked a few toys from the party aisle and tied them with string and attached a little "button" tag made from 2 stamp punches and hand drawn button holes in the middle of the circle. 
 

My little girl had a ball!!!  Her necklace is from LilyBelles Boutique! 


Her pants are the Whitney Trousers from Violette Field Threads and her shirt is the Circus Font Applique from Planet Applique only instead of fabric in the applique I just used the outline and hand sewed buttons to the front! (It took 2 hours to hand sew all those buttons!!!)


The end result was one sweet birthday girl!!!
 

And I have a gift for all of you!!!  Monday night will be the release of my next pattern - the Cupcake Top!  Tester photos are coming in and with just a few little adjustments I will be ready to announce it's release!  I'll have a coupon code of "BIRTHDAY" for 1/2 off!
Sewing Mama RaeAnna Blog

Wednesday, December 4, 2013

Free Stocking Pattern!


Head on over to the Cuddle Corner Blog at Shannon Fabrics for a free stocking pattern!!!

I had so much fun creating these and thinking that they would be for our family.......until I pulled out our nostalgic stockings and decorations we've used for years.  Even though they're not homemade I can't replace them!  So, in the spirit of giving, the new Jingle Stockings you see here will brighten the mantles of Cathy and Patsy!

 
Make sure you check out the other great tutorials at the Shannon Fabric website - like my friend Veronica's cuddle pocket blanket!!!

(img courtesy of SewVery and Shannon Fabrics)

Sewing Mama RaeAnna Blog

 Follow on Bloglovin

Sunday, November 24, 2013

Coco Scrubs by My Friend Tammy!


I love having crafty friends!!!  It's so much fun to get together and inspire each other in our creativity!  Whether it is through music, arts, crafts, etc!  Being creative is something that can bring happiness to ourselves and others!!!

My friend Tammy and I met in college back in the late 90's - she has always been super gifted in music and has toured all around the world!  I love that we both ended up in the Nashville area!  Several years ago I played accordion for her band at a couple of concerts!  I had sooooo much fun!  I need to get my accordion out more often! (And I hate that I can't find any photos online from our fun but here's a great picture of her and her hubby!)  Go check out her music here!


Tammy is also a talented visual artist (here) and makes beautiful jewelry (here)!

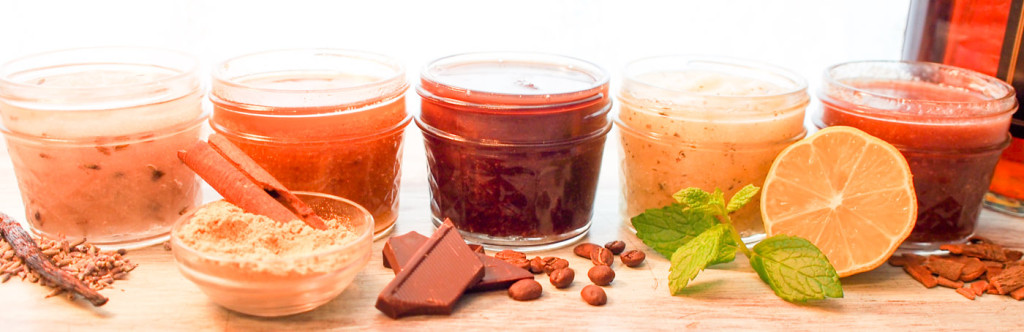
Her latest venture is sugar scrubs!!!!  My obsession with smelly things led me to get a wee bit competitive with her first giveaway contest!  I didn't win BUT she is an AMAZING person and gave me two scrubs to review on the blog!!!  Yippee!!!


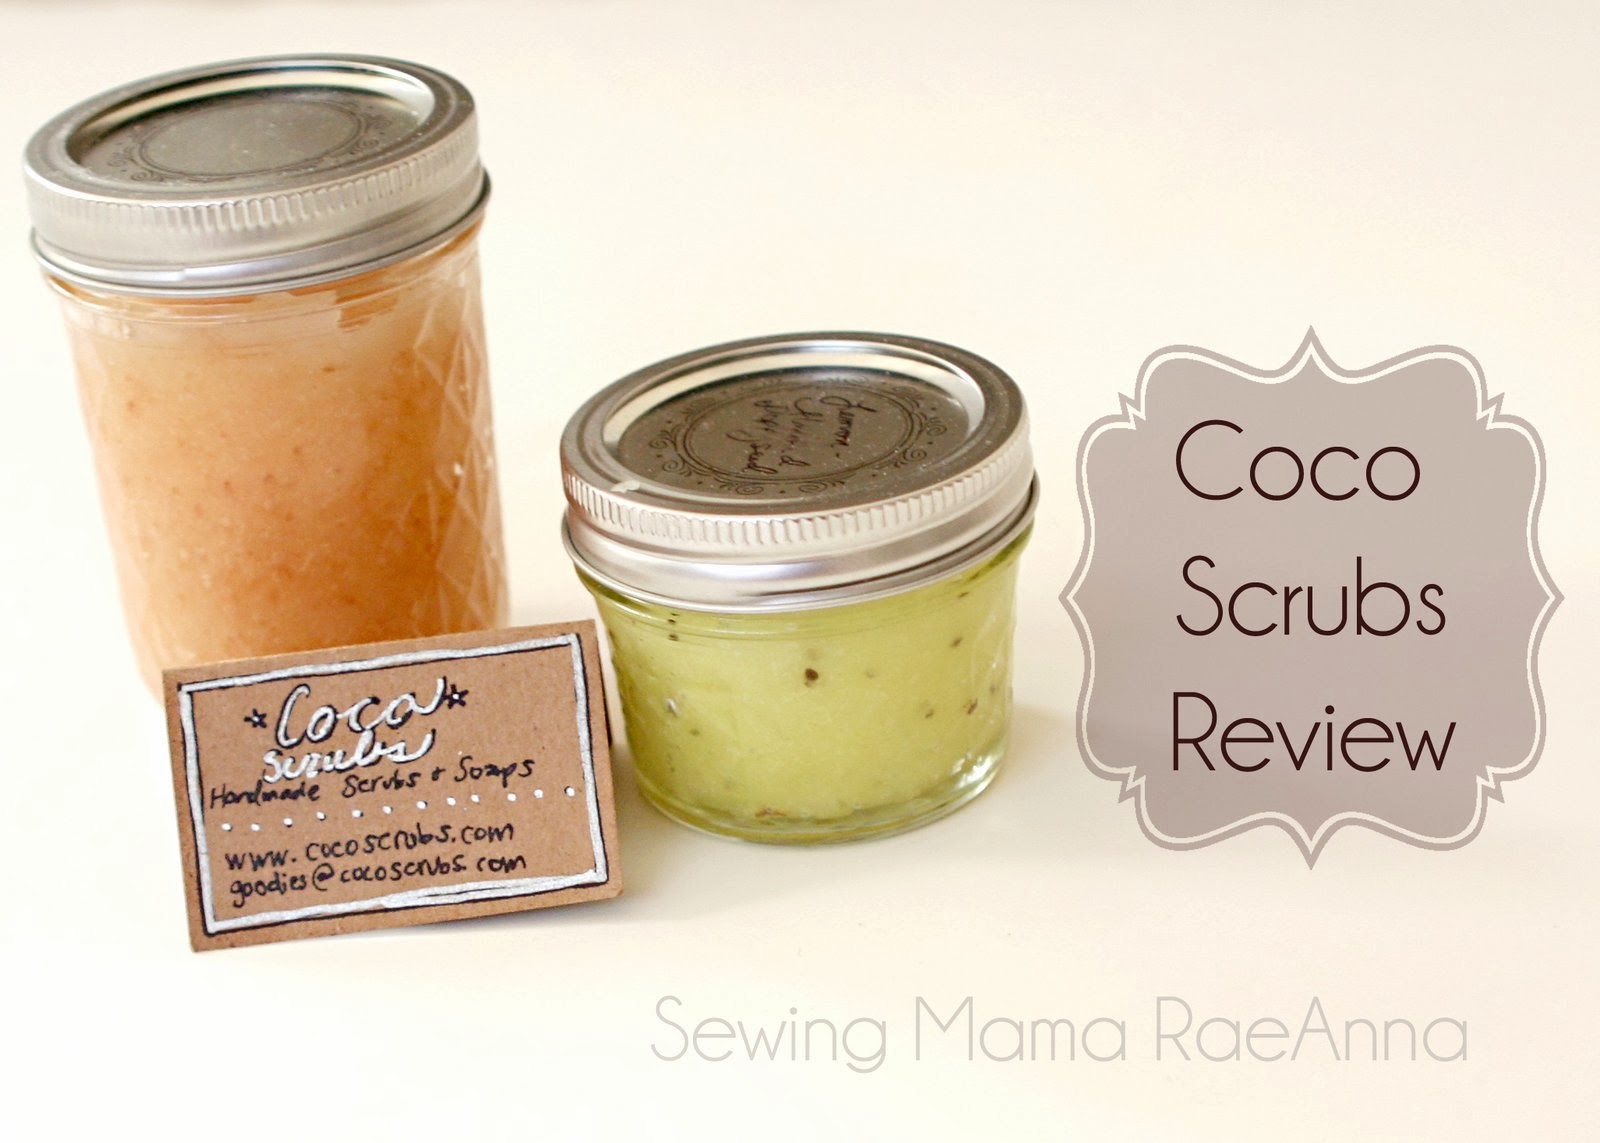
She has a beautiful website that you can browse to see all that she has to offer!  I have been using the Pink Grapefruit Scrub and the Lemon Poppyseed Scrub!

I love her added detail and personalization with the hand written card!  The ingredients are ALL NATURAL!!  I love that she doesn't put anything harmful in the scrubs and the quality of the ingredients really does make it a great product!  The grapefruit scrub smells divine and energizing and leaves your skin creamy smooth!

The lemon poppyseed scrub may tempt you to put a bit in your mouth (I may or may not have succumb to that temptation......let's just say it's as pleasing on the palette as it is on the skin! hee hee!)

I think it is so fun that she is adventurous in her ingredients!  I thought it was genius that she didn't actually use poppyseeds in this particular scrub - but chia seeds!!!  They are beautiful!

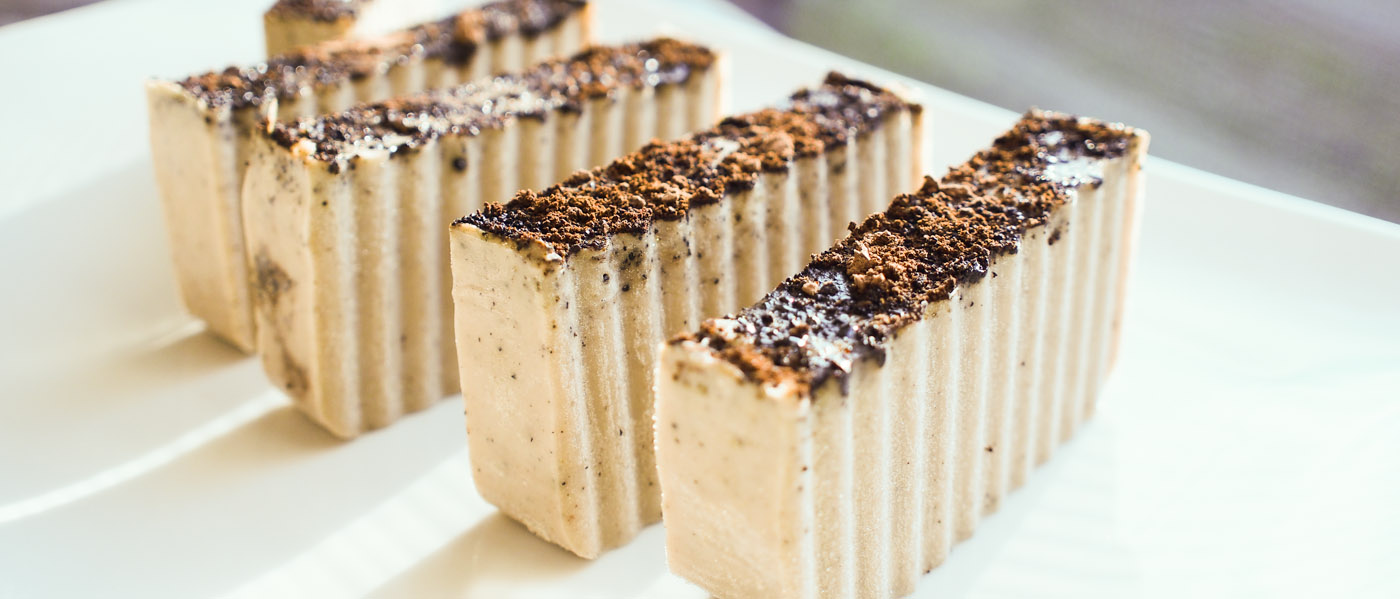
She also makes soaps that look so exquisite - even prettier than the bars at Whole Foods!!!

Thank you so much, dear friend, for the opportunity to review your products!  I wish you the BEST success and encourage everyone to go grab your favorite scrub or soap to add to your stocking stuffers and Christmas gifts this year!!!


Wednesday, November 20, 2013

Fabric Party Hat Take 2!


I planned to post the tutorial after my daughter's birthday party but this hat is just too cute to keep to myself!


Here's the step by step on how you can create a fabric party hat!
First, download the template that I created here!
  The instructions and template were designed for my first DIY party hat but after making this one I think I'll be using the following technique for all my hats!  (Original post <----no sew party hat!)


Step 1:  Print and cut out the pattern and pin to your fabric.  You will need to cut 2.  In this picture I folded over my fabric with right sides together, pinned the pattern, and then cut around.  You'll want to cut 3/8" away from the edge of the pattern to give yourself a seam allowance!


Step 2:
Iron interfacing to the back of one piece.  I used a medium weight iron on cutaway stabilizer but I think a heavy weight would be the best!


Step 3:  Mark on one of the pattern pieces where you will want to pin your ribbon.  I would guesstimate that I marked 3 inches away from the edges.


Step 4:  Arrange your ribbon on the right side of the fabric like pictured and pin in place.  You will be replacing these pins once you sandwich the other piece on top.


Step 5:  Place the other piece on top so right sides of fabric are together.  Replace the pins that are holding the ribbon and pin the rest of the way around.  Leave a 2 inch opening and move the ribbon to that hole so you don't accidentally sew over the ribbon!


Step 6:  Sew all around the hat - back stitch at the beginning and end of where your 2 inch opening will be. 


Step 7:  Trim the edges and notch the curves


Step 8 - Turn right side out and press with a hot iron (You could also top stitch all around the edge)


Step 9:  Fold the hat so the back overlaps and pin in place


Step 10 - hand sew the back closed.  You will also be sewing over the 2 inch opening.


Optional steps:  Add trim!!!  I used some cute pleated ribbon around the bottom of the hat (pinned in place and then hot glued)


And I used this chiffon ribbon to fold in a ball and attach to the top of the hat! (Hot glue)


It's the perfect party accessory to Eva Mae's 2nd birthday outfit!!!  Her t-shirt has an embroidered 2 and then I hand sewed buttons to fill the center of the embroidery (it is designed to be an applique but I didn't use any fabric on the shirt....just buttons!)  The pants are the Whitney Pants by Violette Field Threads!  I can't wait to take pictures for her birthday!  She's a big girl now!
 

Tuesday, November 19, 2013

New Pattern!!!

I'm really excited to share with you news about my new pattern!  But first I want to thank you for purchasing the Bumblebee Pattern on Friday!  
I donated 100% of the sales on Friday to Heart of Worship School in Haiti!


I had the opportunity to learn about this school while sewing uniforms for the children.  The lady that helped establish the ministry is local to Nashville and has a HUGE heart for missions!  I love seeing the testimony that God is at work through this organization!


My next announcement is that my new pattern is being tested!!!  Yay!  I finished sizing the 3m-18m thanks to a couple friends and can't wait to see how things roll along as I get the rest of the sizing down!


Here are some more sweet pictures! 


This one has been a lot of fun to work on - I told my neighbor (the mommy of the adorable baby) that I'm excited I have another pattern that feels like "me" - I mentioned before on the blog I scrapped a couple ideas because I just didn't feel like it expressed my "designer point of view" <------ Tim Gunn reference!

Thanks again for stopping by and check my FB page for updates on the testing and release!
https://www.facebook.com/SewingMamaRaeAnna 

LinkWithin

Related Posts Plugin for WordPress, Blogger...