Pages

header2

Image Map

adsense

Friday, April 12, 2013

Week 2: Home Decor


I am ashamed to admit that we have lived in this great house for almost 10 years and I've let our bedroom stay plain jane!!! 
 
I've admired a ton of blogs/home magazines/etc. and always said "I'll get to it....." but it's always been a low priority when I have a ton of other things I'd like to do!  Here's a picture of me and hubby celebrating our 10 year anniversary this past July - he would officially like to thank Naptime Crafters Blog for motivating me into creating our bedroom a "Burlappily Ever After" room!!! This week is dedicated to you, babe!


If you've followed my blog or Facebook you know how much I love my Singer Futura embroidery machine!  I embroidered on burlap for the first time at Christmas for a gift for my mother-in-law.  I was amazed at how easy it is and how nice the end result looks!


I have 3 embroidered burlap projects to show you - 1.  The "G" pillow, 2. The "N" + "R" pillows, and 3. The side table coasters!


The "Goss" burlap panel was done using the Savvy Stitches Split Alphabet!  This is a beast to embroider at 15,352 stitches!!!  I think it took the machine about 30-45 minutes to complete. The awesome feature of the XL-400 is you can control the speed!!!  I had a 200ce previously and this design took twice as long when I made my mother-in-law's gift!


The handstitched edge of the burlap was done with embroidery floss onto a piece of cream fabric and then the fabric was topstitched onto the pillow sham.  Thank you to my FB friends for helping me decide to use the cream fabric as a "frame" behind the burlap!
 
If you'd like to see how I made the pillow sham with a full picture tutorial click here!
When I was thinking about the pillows I want to accent our bedroom I thought a matching "his" and "her" pillow out of burlap would be cute!  I used the "University Font" from Jolson's Design to embroider the "R" and "N" on the burlap square! 

 
If you want to make one it's super easy!  Take a rectangle of burlap (9x18" or similar) - fold right sides together and sew along the edges leaving 3" to turn right side out - stuff and sew the hold closed!  Super easy and such a great little accent!  (Who else has "their side" of the bed?  We've claimed these sides and I don't think we'd be able to sleep if it was switched! haha!)


The third embroidered burlap project is the custom coaster set I made with special dates!  Our anniversary and birthdays will be easy to recall and will protect the side table from drink stains!


The top side is burlap and I put felt underneath as the "stabilizer" and coordinated the felt with the color of the thread for each coaster!  Christian thinks they're miniature frisbees!


To pull together the complete look I needed a headboard!  I found the geometric print used for the pillow above in a sheet set from Ross (kind of like a TJ Maxx) - the flat/fitted/pillowcase set was around $8!!!  I had several ideas for what I wanted to do as the headboard but I couldn't say no to this print!  I was hoping to include more burlap in the headboard but I think it looks best as a stand alone piece!  (Let me know if you have any suggestions to embellish the headboard!) 

To make the headboard I took a huge piece of cardboard that was a sewing measurement tool.  I've never needed something so big so it's just been sitting folded up behind my sewing desk!

I pinned the fabric to the back side and made sure everything was straight.  (ignore my burlap fabric scraps!)

Then I used adhesive spray to hold the fabric to the cardboard and make sure there were no wrinkles.
Using the adhesive spray and some hot glue to reinforce, I folded the edges behind - voila!


We secured the headboard to the wall with some finishing nails.  The complete look came together so nicely and on a small budget!  The curtain rods and panels were bought at Ross for $26 total and the white bedding (skirt, sheets, comforter) were bought off Amazon for $80.  The "Family" picture collage was a Christmas gift that's been sitting in the box waiting to be displayed!


Now we can enjoy a clean and swanky bedroom.......Happily (I mean "Burlappily") Ever After!
Sewing Mama RaeAnna Blog

Follow on Bloglovin

Voting is open until Sunday night!  I hope you'll pop over and vote for me!

Tuesday, April 9, 2013

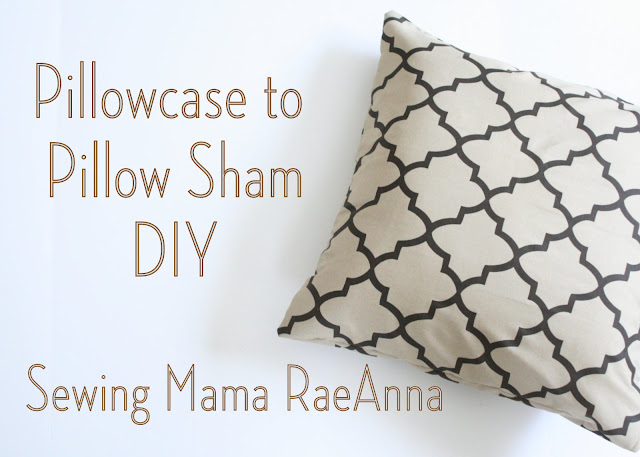
Pillowcase into a Pillow Sham


Guess what I've been working on?!!!  Week 2 for the Sew Off is coming up and I've been hard at work making some cute bedroom items!  This is just a little teaser/tutorial for something I worked on today!  To see the finished look I hope you'll come back on Saturday morning to check it out!


I went to Ross this morning and found an adorable sheet set that I want to incorporate into my look!
It came with 1 pillowcase but I didn't need it for my sleeping pillow - I thought it would be perfect as a decorative pillow!  I have a 17" square pillow that I want to cover from my previous bedding set.  Here's what you'll need if you want to turn a cute pillowcase into a decorative pillow cover! (Or even straight up fabric will work!!!)

Step 1:
Measure 19.5" on the long side of the pillowcase and cut straight across.  This will create your "square"
 
Step 2:
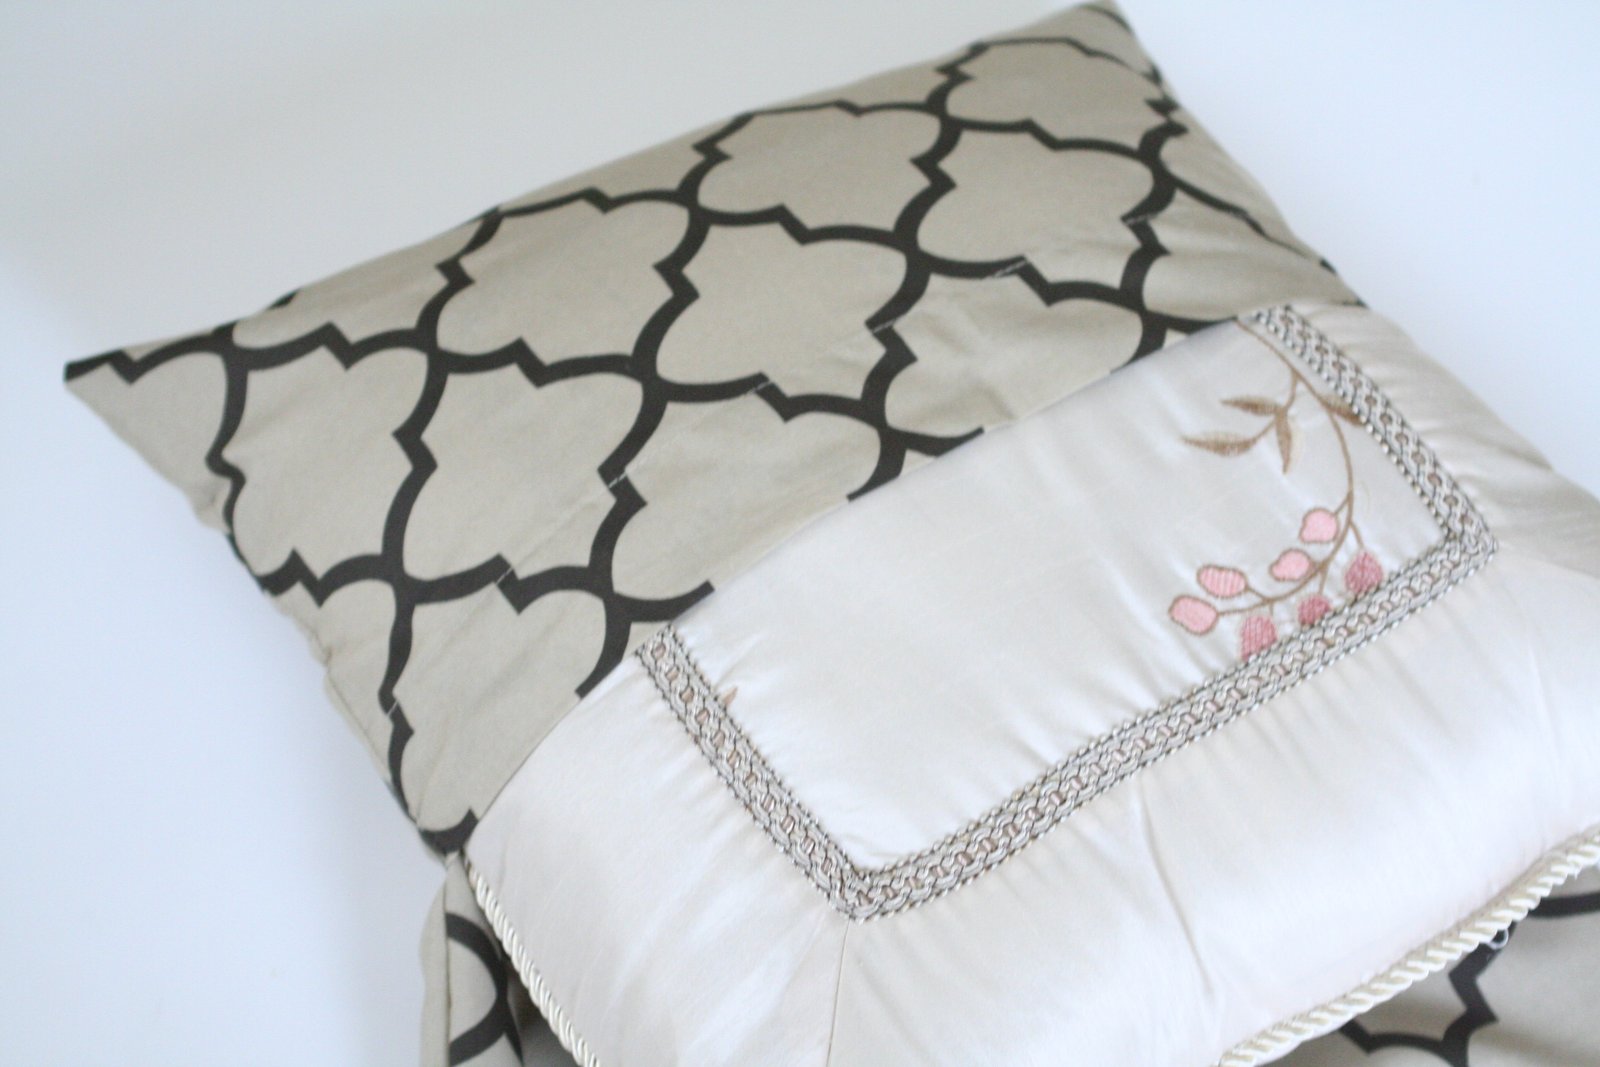
Cut open all the seams except for one - this is the seam you see going down the middle of the pillowcase.
 
Step 3:
Fold a hem line on one of the pillowcase edges.  This will be one half of the back.  Sew the hem in place.
 
Step 4:  Attach one of the end pieces that you can see at the top of the "Step 2" picture.  You'll put it right sides together and sew the raw edges.  Since the pillowcase already had a sewn hem you've eliminated part of the work for yourself!
(This is the view of the wrong side so you can see the seams)
 
Step 5:
Pin the pillowcase right sides together and overlap the back so that you can easily slip a pillow into the finished sham.  Sew a straight line down the sides, removing the pins as you go.  Repeat on the other side.
 
Step 6:
Turn right side out and push out the corners!
 
Insert your old pillow into your new sham!!!  A 30 minute project - EASY PEASY!!!


Sewing Mama RaeAnna Blog
Follow on Bloglovin

And don't forget to check back this weekend for week 2!

Friday, April 5, 2013

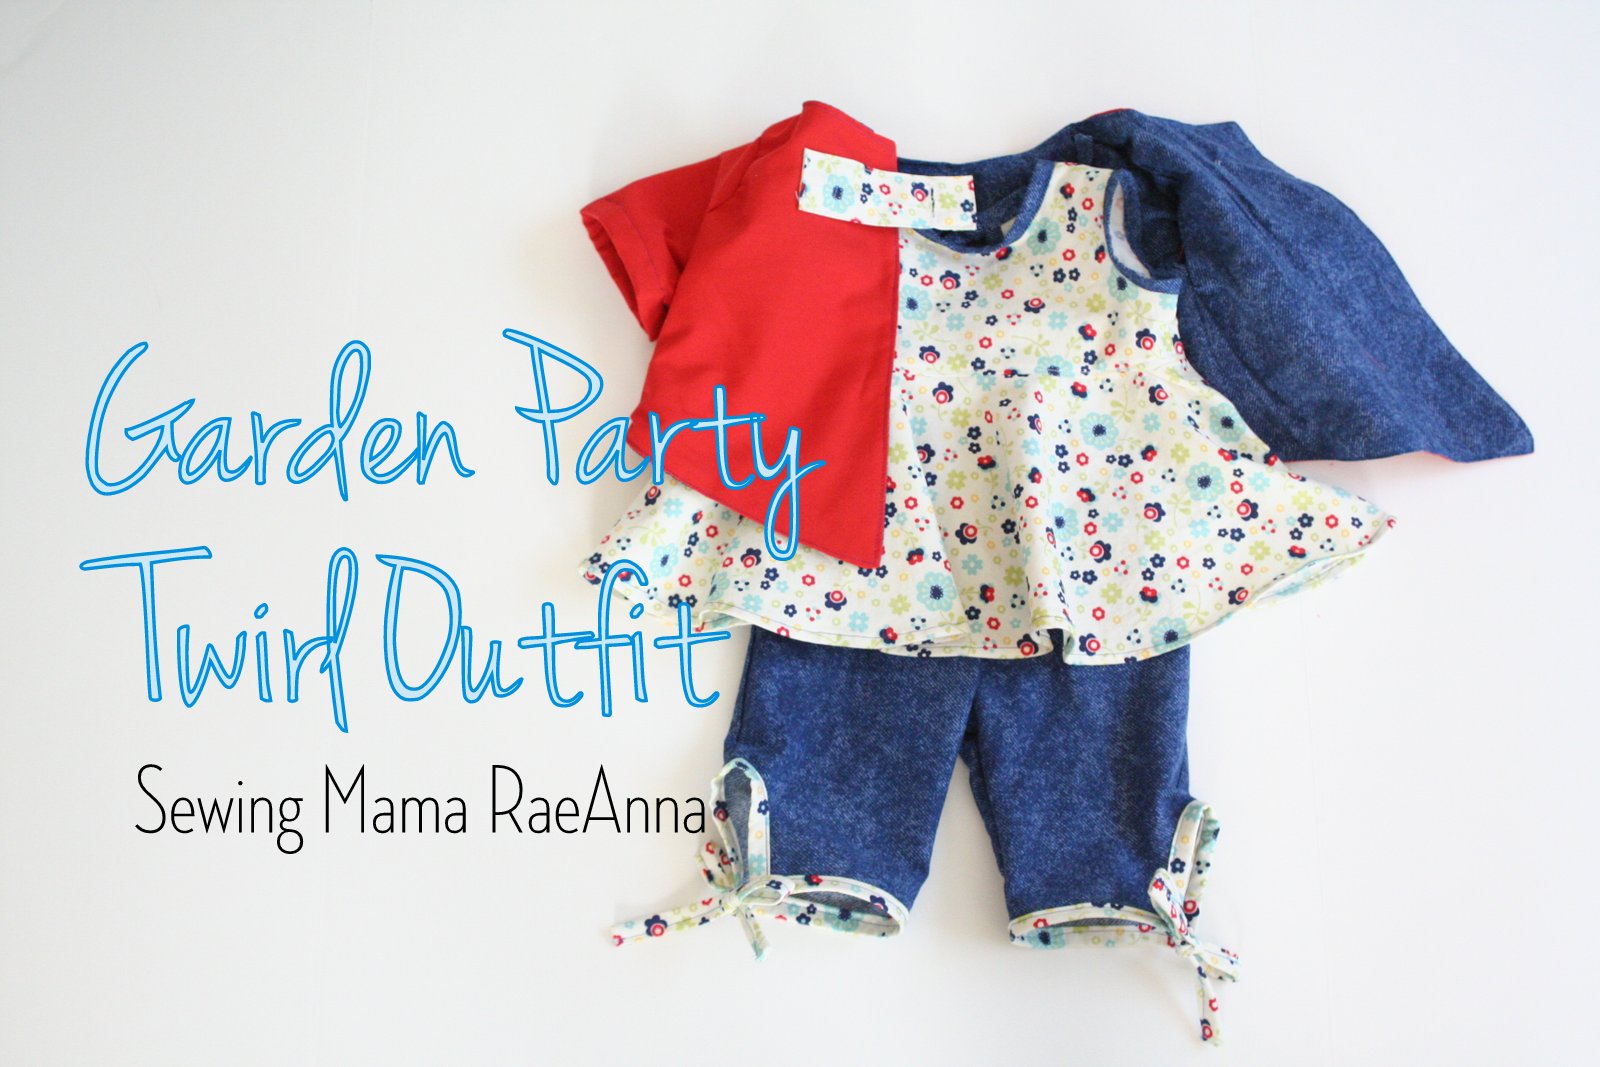
garden party twirl outfit


It's so funny how when you're inspired you can put something together super quick!  This is one of those outfits!  I found out that I would be part of the Sew Off on Saturday and I spent all night on Sunday after our full day of Easter celebrations working on putting this together! (Of course, the seam ripper was involved - that's always the case when I'm up past my bedtime!)

I started my design process by going through my stash - I reeeeaaaallly need to sew through some of this fabric before I go buy more! I bought a ton of Riley Blake when it was on sale at fabric.com so I started with this multi colored flower fabric! You can see if you scroll through my creations that blue/reds are some of my favorite combos! (that and teal/pinks!)

I knew that I wanted to do a simple bodice with a circle skirt so I started with the bodice measurements of the Hopscotch Top and then used Dana's circle skirt tutorial for the bottom. Eva Mae is in an 18 month size so I used that size of bodice and then took a 21" waist measurement for the circle skirt. I actually came up with the length of the skirt by how much fabric I had to work with!!! (How many of us improvise that way? Sometimes measurements are just suggestions!!!)
For the capris, I wanted a flat front and I've been eyeing Dana's flat front tutorial for a while so I decided to start with that for the pant construction! I drafted my own pants pattern from a pair of Eva Mae's pants but adjusted the front seam to be narrower for the flat front construction.
 
The detail that I wanted to tie both pieces in was the keyhole cut out with the bias tape. I cut out my own shape on the back of the bodice and then on the sides of the capris.  The Hopscotch Top is actually a lined bodice but since I wanted to do the contrasting bias tape I just serged the seams of the top and lined the raw edges of the neck and armholes with the bias tape.  The bottom of the skirt section is turned under and hemmed.  I used the same bias tape technique on the bottom of the capris.


The jacket is the 3rd piece to tie it all together!  (Or as Stacy and Clinton call it, the "completer piece!")
 
I wanted something to make the jacket stand out a little so I brought the front down at an angle and added a cute button tab closure to bring in the fabrics of the outfit!


I wondered if the outfit is too "matchy matchy" but one positive of being able to sew your own clothes is that you can do whatever you want!!! I do love the pop of color that the green button provides!  It's kind of a mod touch to the sweet style of the pants and top!  I'm proud that I did all of this from fabrics in my stash!  I can't wait for the weather to be nice and warm so she can get a lot of wear out of the outfit!

And if you like the jacket, I have a tutorial and free pattern coming soon!!!  I hope you'll follow my blog to get all the updates and see more cute summer outfits!
Sewing Mama RaeAnna Blog
Follow on Bloglovin


Thank you to everyone who voted for me!!!  Remember to come back Saturday morning for the reveal of week 2: Home Decor!

Monday, April 1, 2013

just a test to add bloglovin'

Follow my blog with Bloglovin


Here's a sneak peek for Friday's Sew Off post!!!  Since Google Reader and GFC are going "poof" this summer I'm setting up my blog so you can easily follow with Bloglovin!  Check it out if you haven't visited the site yet!  (See the link at the top)

Sunday, March 31, 2013

Skater Dress Tour


Dude, I totally dig that I get to show you this gnarly new pattern by Amanda of Kitschy Coo!  (I hope you read that in the raddest skater voice!  If you really wonder what I sound like think Michigan transplant to Tennessee......a little southern drawl but mostly northern yankee!)


 I don't work with knits that often but I was excited to be a part of Amanda's Skater Dress Pattern tour to show you the version I made!  I didn't veer too much from the original pattern since my confidence in improvising with knits is pretty low!!! :)  But don't worry - this pattern is perfect for beginners like me or those who have worked with knits in the past!  The instructions are great to help those who are new to stretchy fabrics and the shape of the dress is perfect to springboard into other styles if you feel adventurous!


I self drafted a pair of leggings to go with the dress that I think turned out adorable!  This is the first pair of leggings that I've sewn with just my serger!  I used the same techniques in the dress to make the cuffs of the legs and the waistband!  I think a whole new world of sewing has been opened!  Yay for knits!


And a cutie patootie matching knit headband completes the outfit!
(She had crazy hair from taking a nap after her bath this morning!)
 
As I said earlier, Amanda's instructions are wonderful and made sewing this dress easy and gave me a lot of confidence to try experimenting with some other modifications like Meg at Elsie Marley!


Since I normally only have time to sew when the kids are sleeping  I don't have the opportunity to test out the garments for measuring unless I want to wait and finish everything up the next day!  I probably should have gone ahead and fixed the length before taking pictures but she just looked so cute I couldn't wait!


The size I used for the dress was 18m/2T and it is a little big for her.  She's on the early side of 18m sizing so the dress may look better in the fall once she's grown a bit!


Thank you so much for reading and checking out this adorable dress!  You can purchase it here!
And if you are following my blog with Google Reader I would hate to lose you this summer!!!  Reader will be going away but I've heard that http://www.bloglovin.com/ is a great place to sign up and manage your RSS subscriptions!  I hope you'll consider following my blog as I continue to create cute stuff for my cuties!


patterntour


P.S. I'm excited to announce that I will be a contestant in the Sew Off!  I will be sewing up a storm to get my look finished by Friday!
 

LinkWithin

Related Posts Plugin for WordPress, Blogger...