Pages

header2

Image Map

adsense

Friday, July 19, 2013

Elegance & Elephants Bubble Pocket Top and Spin Skirt


I had so much fun sewing this outfit and taking pictures!!!  If you missed my first post, I gave a tutorial on how I modified the back to have a tie closure instead of a button closure!  It makes it super easy to wear the top reversible! Click here to see the tutorial!


The top is adorable with the pockets and the look of the front panel!  I think it might be interesting to do 3 different colors/prints for the top so you can see the construction detail!


The skirt is adorable with it's waistband and casing!  I love that little extra detail!


And who can resist this ADORABLE fabric???!!!  I have been a fan of Sarah Jane for over a year.  Her whimsical drawings are imaginative and creative!  I used several of her Out to Sea fabrics for my kids and hope to order more from her Let's Pretend and Children at Play fabric lines!

(You can see some blog posts on some of the above outfits here)

The pockets on the top are my favorite detail!  I had to take a photo with a couple little friends that like to play pretend!
 

 I love how everything fits!  The pattern comes in size 12/18m, 2/3, 4/5, 6/7, 8/9 and size 10.
I made the size 12/18m for Eva Mae and it fits perfect!


I used the same fabric for the tie on the top back as I used on the skirt and I love how that small detail seems to pull everything together for the outfit!


And I love how the print of the fabric works in the center of the dress!  The drawing with the little girl and the balloon is my favorite on the fabric so I wanted to make sure it was front and center when I pieced it all together!


 I had so much fun taking Eva Mae's pictures and capturing her mobility!  She obviously doesn't stay still for a photoshoot!


If you love the look of this outfit as much as I do go check it out on Heidi's website and purchase a pattern for yourself!!!  You will receive so many compliments!  I also think it will be a perfect top to layer over a long sleeve shirt for the fall!  I have some ideas brewing for my next sew!


Have a wonderful weekend!!!


Sewing Mama RaeAnna Blog

 Follow on Bloglovin 

Wednesday, July 17, 2013

Elegance & Elephants Bubble Pocket Top - tie back tutorial


Oh my goodness!  I am so excited about this new pattern!  This will be the first post of several with this top!  I haven't finished the spin skirt to match so I'll be posting about that in a few days along with some photos of my sweet Eva Mae wearing the outfit!


First of all, if you haven't seen this pattern yet you need to RUN over to Heidi's blog and check it out HERE!

If you notice, the top right view shows the back with a button closure.  I wanted to try something a little different and have a cute little dangle-y tie in the back!  It's really easy to do and only takes a few extra steps!

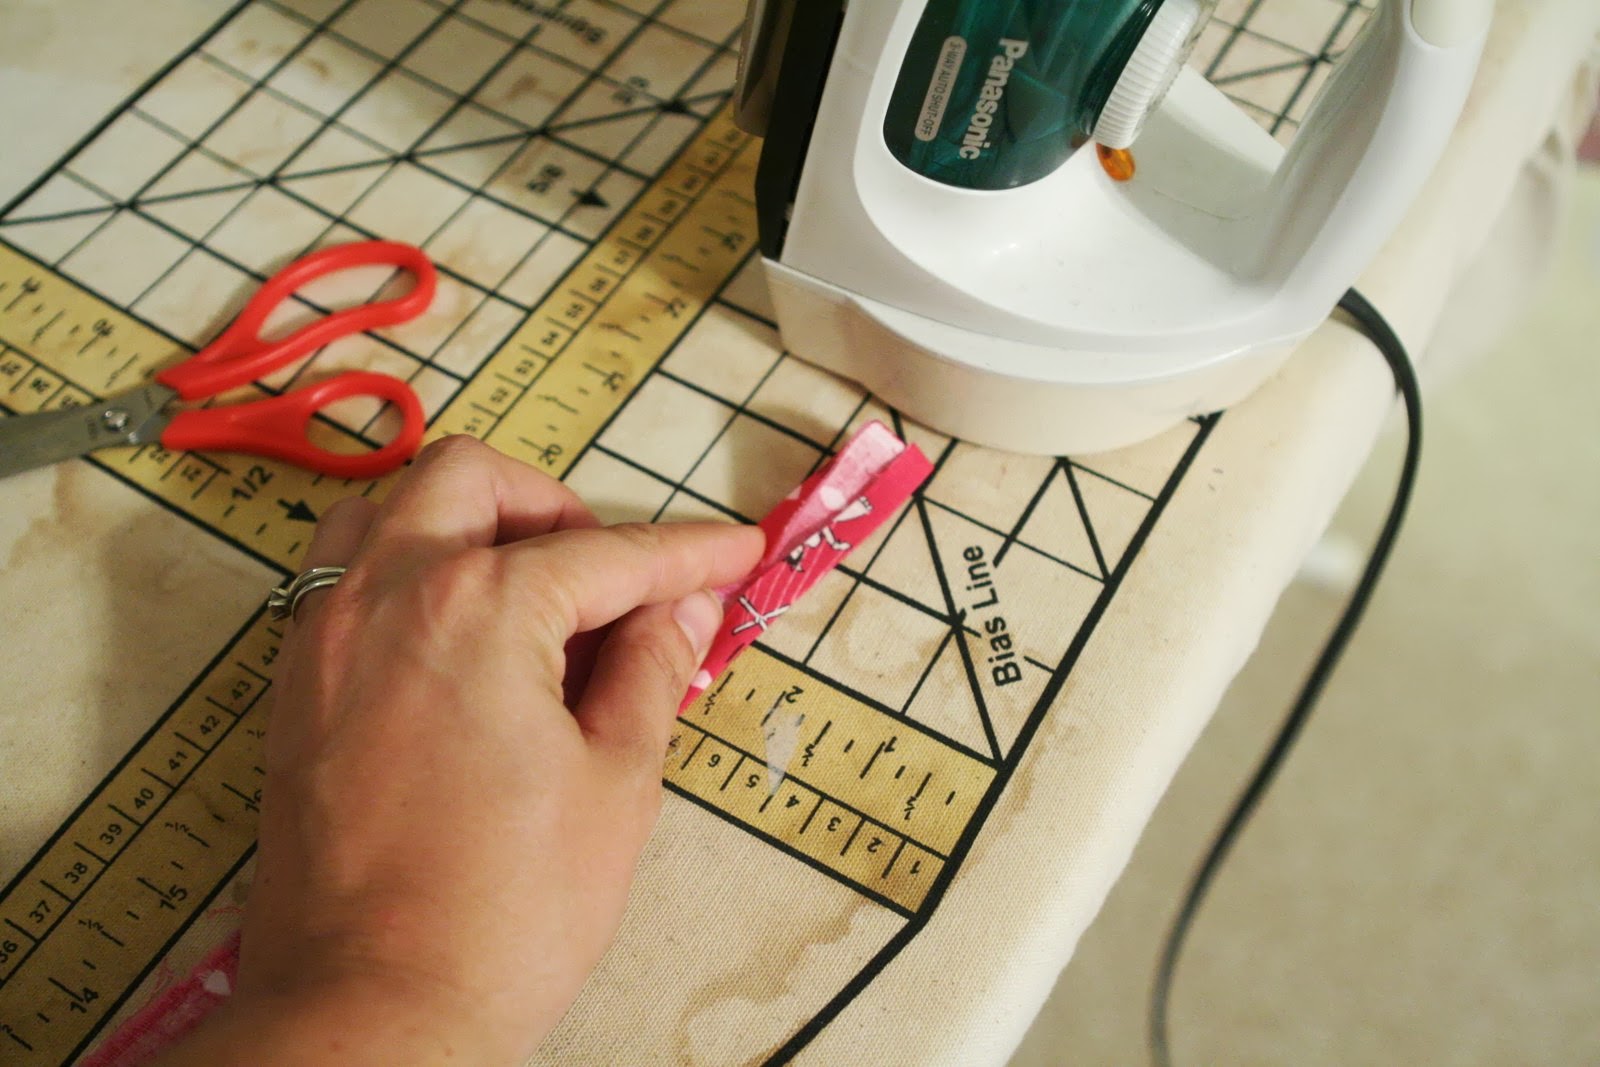
First, take 2 strips of fabric - 1.5"x15" and iron each side down 1/4"


Fold the ironed edges on top of each other and press.  At one of the short ends, fold over 2 times so that you don't have any raw edges showing.  It won't matter for the other end because you'll be sewing it into the lining.  Sew the strap 1/8" from the edge.

(You could also use ready made double fold bias tape!)


Measure about 1.5" down and pin the straps with the raw edges together.


Sandwich the straps between the main fabric and the lining fabric. Pin in place.  Sew along the neck and arms just as the pattern indicates, making sure the straps don't get caught in any stitching!


When you turn your garment right side out you'll have 2 long strips ready to tie!


Another adorable feature of this top is that it is reversible!


And having the ties in the back make it so easy to flip around to create a new look!


I can't wait to show you the finished outfit!

If you're curious about the fabric, I used Sarah Jane's new line "Let's Pretend" - Mr. Bear and Cloud Pictures!

Sewing Mama RaeAnna Blog


 Follow on Bloglovin 

Sunday, July 14, 2013

Paper Airplane Party


I am one of those people that starts a Pinterest board the day after a birthday party for the next year! LOL!   It probably will change as my little man grows and develops his own preference for parties but the past 4 years has been such a blast for me!  I think throwing your child's party is just as much fun for the mommy as it is for the kids!


There were so many fun elements that made this theme a PERFECT birthday theme!  And it was soooo cheap!!!

Paper Airplane Garland
I stayed up late one night folding all these paper airplanes and stringing them on thread to hang from the ceiling.  If I were to do it again I would probably find a way to knot the thread at each airplane instead of putting tape on the string.

I love the color scheme of blue and orange together!  It's so boyish!


I also hung vertical paper airplanes from the window cut out we have between the kitchen and living room.   They looked like little mobiles!


Paper Airplane Cake
The cake turned out amazing!  I have a talented friend that has made Christian's 3rd birthday (Cowboy) cake, Eva Mae's 1st birthday (Owl) cake and will hopefully make many more birthday and special milestone cakes for our family!  Her Facebook page is Amazing Cakes!


Party Favors and Games
I think my favorite party favor were the little candy airplanes!  I saw Push Pop airplane ideas on Pinterest and then I saw the same idea using Tootsie Pops - wouldn't you know my Kroger didn't have either?!  So, we used Smarties!!!  They worked perfect!


To make, take 2 life saver candies and a rubber band.  Thread the 2 life savers and insert a stick of gum on top.  Slide the smarties candy in between the gum and life savers and you have the cutest little candy favor for your guests! (I covered my gum with some cute scrapbook paper)


We made a ton of paper airplanes and I had a table set up in the piano room for kids to make and decorate their own!  After making their airplane they could try to fly it through a hole in the posterboard or go outside for more Flying School!  (I hung 2 hula hoops from the tree....forgot to take a picture - whoops!)


I also played around with designing my own paper airplane template!!!  I made one for each child with their name on the wings!


Another cool activity is from Disney - for Father's Day they came out with an awesome paper plane printable!  Go here to get it!


The other favors I made were a snack mix bag with peanuts and pretzels!  I simply printed off a greeting on a half sheet of paper and secured the plastic snack bag with a ribbon!


(Someone's trying to sneak a snack!)
 

Paper Airplane Outfit

One reason I LOOOOVE having an embroidery machine is being able to create such cute custom shirts and clothes for my kids!


The shirt I made for my birthday boy uses the paper airplane from Planet Applique and I merged it with his name and the number 4.  It looks so adorable!  The shorts were refashioned from an old pair of my jeans with airplane fabric on the side pockets!  I'll talk more about them on Tuesday on my guest post over at House of Estrela!


 I do take custom orders so if you need a birthday shirt contact me on my Facebook page!


I have to say that the birthday boy had the time of his life!  I think birthdays and Christmases are only going to get better and better! (Oh, and you can get my free tutorial and template for party hats here)


Now I need your help.....theme suggestions for birthday #5 next year?!

Sewing Mama RaeAnna Blog


 Follow on Bloglovin 

LinkWithin

Related Posts Plugin for WordPress, Blogger...