

I'm bringing home my Kawaii Kitty Bow Holder tutorial first featured on the Sewing Rabbit!
If you grew up in the 1980's like I did you probably had some adorable Hello Kitty toys and clothes. This little kitty bow holder is inspired by Kawaii art and I hope you enjoy the tutorial!
Materials:
2 - 8.5"x11" white felt
Scraps of light pink felt
Scraps of black felt
Black embroidery floss
Embroidery needle
Fabric glue (optional)
Ribbon
Scissors
Water soluble marker or chalk
Polyfill stuffing (optional)
Start by printing off the template for the bow holder!
DOWNLOAD HERE
(You need Adobe Acrobat to open)
Place the pattern pieces on the felt and cut out each shape.

I wanted to show you a close up of my KAI scissors. These buggers are SHARP! I love making felt bow centers and this scissor brand was recommended to get the nice even cut around small edges. If you have any trouble with the smaller sections of felt pieces you could also use embroidery scissors.

After you have all your felt pieces cut out, arrange the face on 1 section of the head.
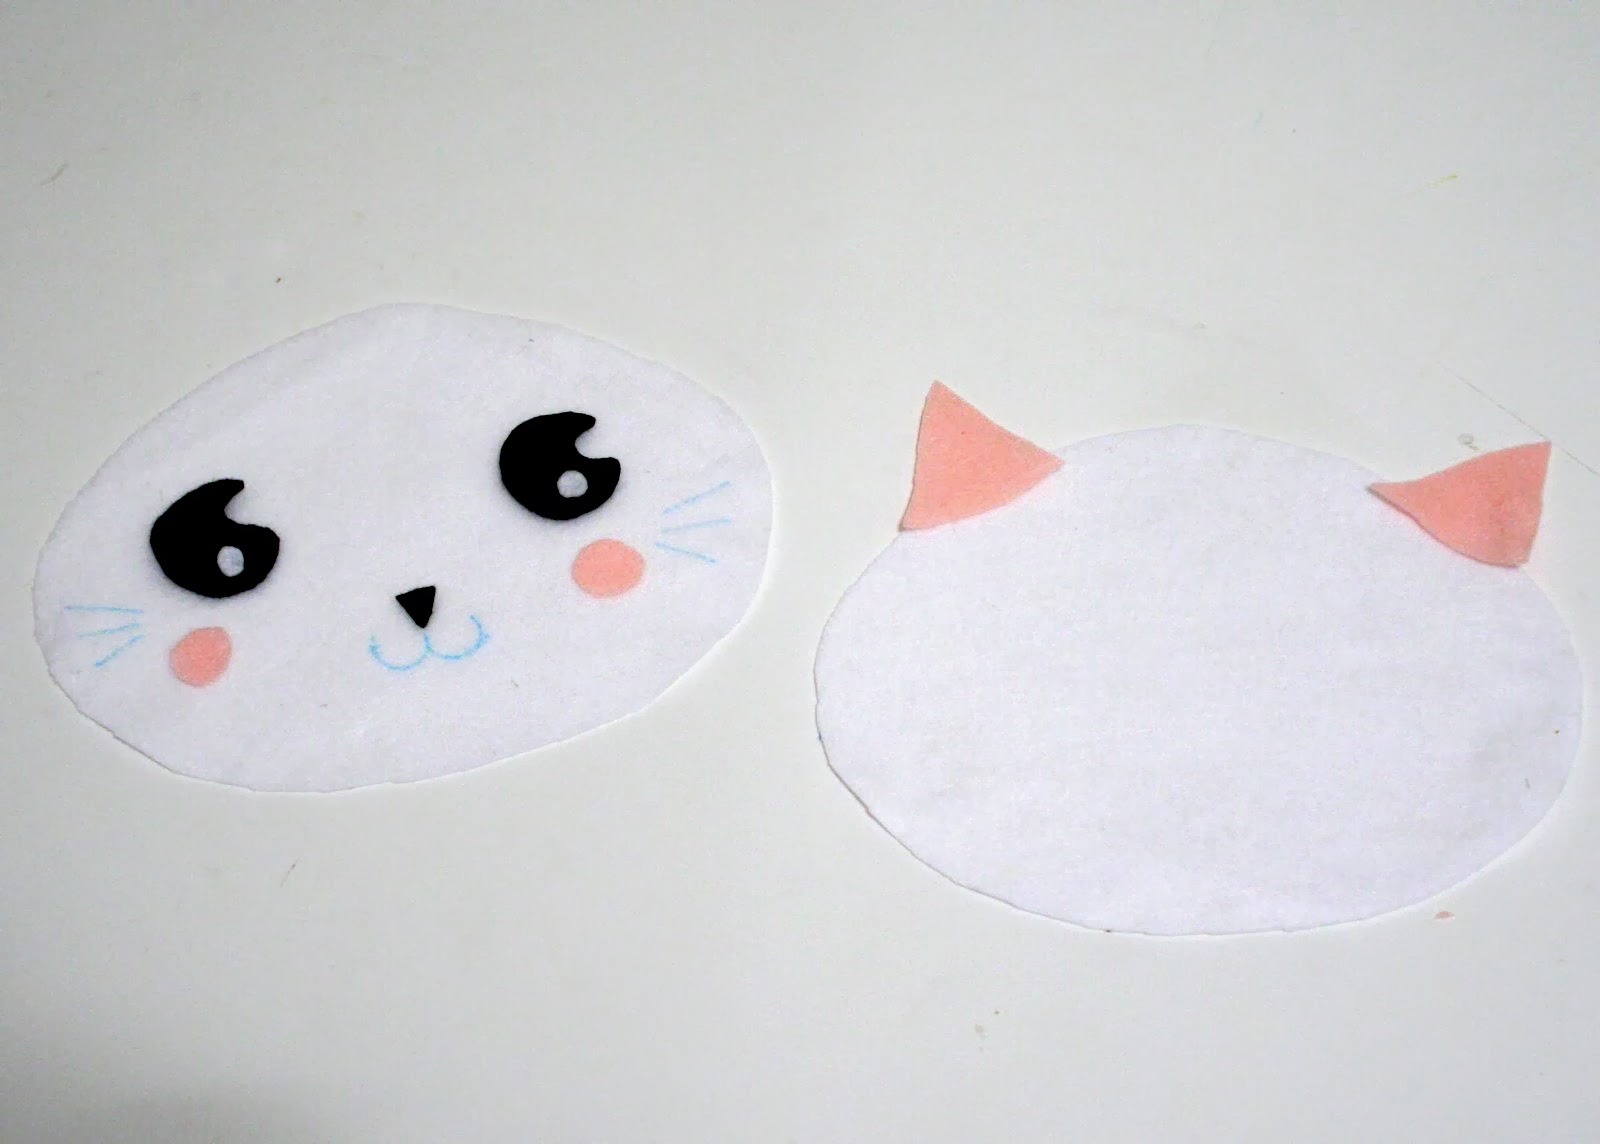
You can glue the small pieces in place and then tack down with some thread while you work on the hand embroidery of the whiskers and mouth! Use a water soluble marker to draw the placement for the embroidery.

Take your black embroidery floss (I use 3 strands instead of the 6 strands in the floss.) Thread your embroidery needle and use a "Split Stitch" to embroider the mouth and whiskers! Here's a step by step on how to make an embroidered split stitch:

Now, you are going to sandwich the ears and ribbon between the back of the head and the front of the head! Pin each in place and sew along the edge of the head. Since this is felt there's no need to sew right sides together and turn out. Leave a 2-3" opening to stuff if you want your kitty head to have a little bit of body!


Sew the opening closed if you used stuffing and now hang your adorable new bow holder. Fill it up with hair accessories and let me know if you make one for your little girl's room!

Thanks for stopping by!!!

No comments:
Post a Comment