

Here's how I cut out the pattern.
Bodice - using a large bodice pattern from my collection I traced and cut out the front and back but I made 2 cut outs of the front and shaped them so they would meet at a "V" on an overlay. (I hope that makes sense? Basically I wanted it to look like the bodice of a wrap dress.) Cut one of fabric and one of lining for each of the 3 pieces.
Straps - cut 2 long strips - each about 2.5" by the full length of the fat quarter (about 22")
Belt - I just basically did the same thing as the straps but I cut about 5" wide and 22" long. This way I could fold and press to enclose the seams of the skirt layer and the bodice.
Skirt - cut 2 strips 5"x22" in one color and 5"x22" in another color

Close up of bodice

Close up of belt and straps

Close up of skirt

STEP ONE:
take the straps and fold right side together. Sew up the edge and turn fabric to right side and press. This picture shows the completed straps

STEP TWO:
Pin the back and front together (right sides together) on both the lining and main fabric.
Sew the side seams

Press the seams flat


STEP THREE:
Lay the lining and main fabric on top of each other right sides together. Pin the straps by sandwiching them inbetween the fabric.


Sew all the way across the top - sewing together the lining to the main fabric and encasing the straps.

Turn right side out and press


STEP FOUR:
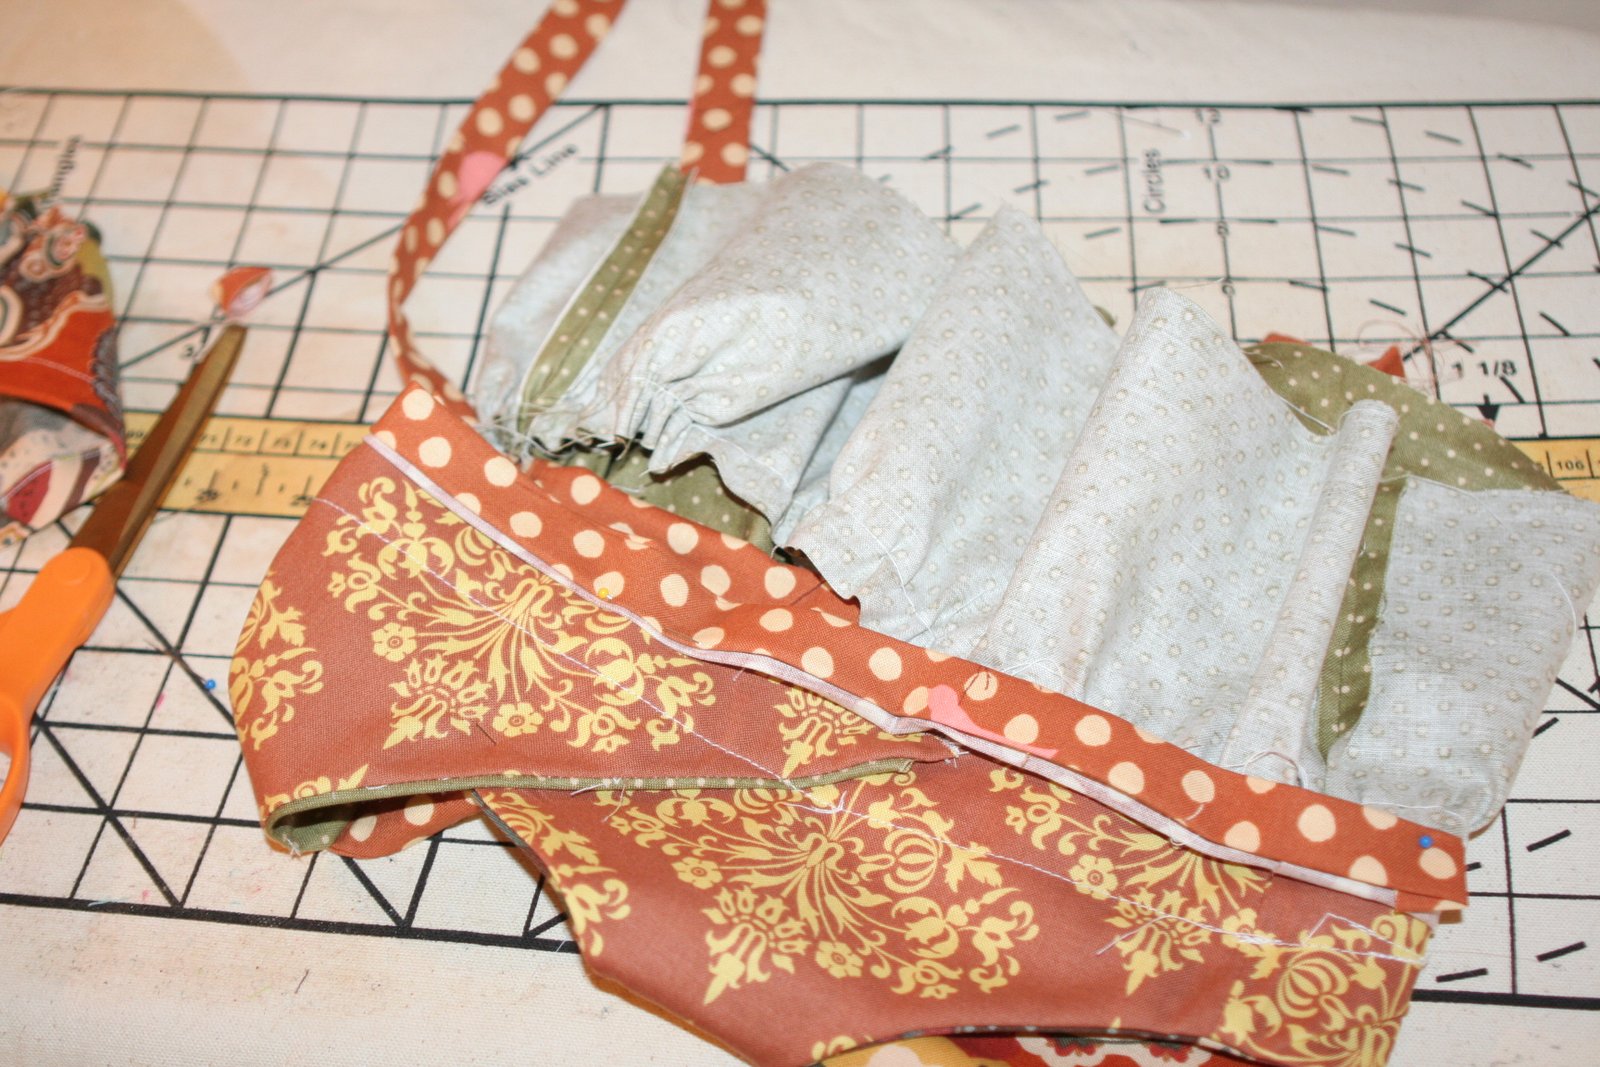
This is the tricky part. I folded the belt so that when I pinned it to the bodice it would be like it was hemmed. I'm hoping from the pictures you can get an idea. I also had to sew the ends of one side together to make the belt long enough to go around the entire front and back. This is a picture after I sewed one end.

Pin it around the outside of the bodice and topstitch close to the top to attach it to the bodice. Don't do anything to the bottom yet - that should still be a raw edge. I did need to trim and fold the belt to be the right size for my bodice.


This is a picture of all my pressed folds.

STEP FIVE:
Sew the sides together for both the main fabric skirt and 2nd color fabric skirt section.

Hem the bottom of the skirt section that will be on the bottom of the shirt.

STEP SIX:
Run a basting stitch across the top of both skirt sections and gather up in a ruffle. Pin the top section skirt to the folded bodice belt and sew all around. You're going to kind of "sandwich" the folds of the belt around the raw edge of the skirt.
STEP SEVEN:
Pin the bottom of the first skirt section to the top of the hemmed skirt section

Sew with right sides together and go over again with a zig zag stitch close to the end to prevent a lot of fraying. (or serge ends)


STEP EIGHT:
Turn right side out and press

STEP NINE:
Add the buttonholes to the back of the bodice and you're done!!!


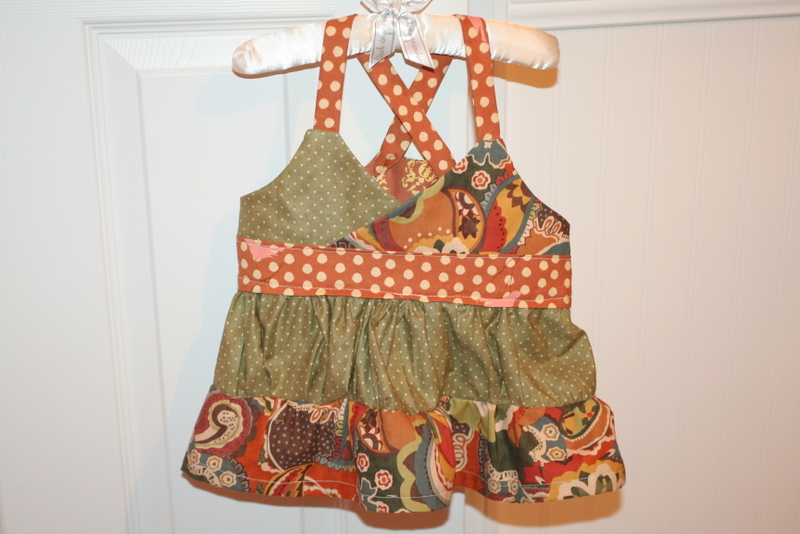


I love the shirt is so cute... I have a huge collection of children's clothing tutorials on Pinterest and I included both of your shirt tutorials, you can find them here:
ReplyDeletehttp://pinterest.com/joejoe67/things-to-make-kids/
I love the ironing board cover you have, where did you find that?
Thanks and keep making those great tutorials!
JoeJoe
georgia.gutierrez67@gmail.com
Yay! I am going to check them out now!!! I got the cover at JoAnn's!
ReplyDelete