I am reposting this tutorial after a friend in a homeschool group asked for something similar! This was a fun project to teach myself cross stitch!
Months later my son still enjoys keeping his accessories in this bag!

To start, I used a figurine to copy the design on cross-stitch fabric. If you don't have something to copy, I created this free pattern to print and follow! Just click here!

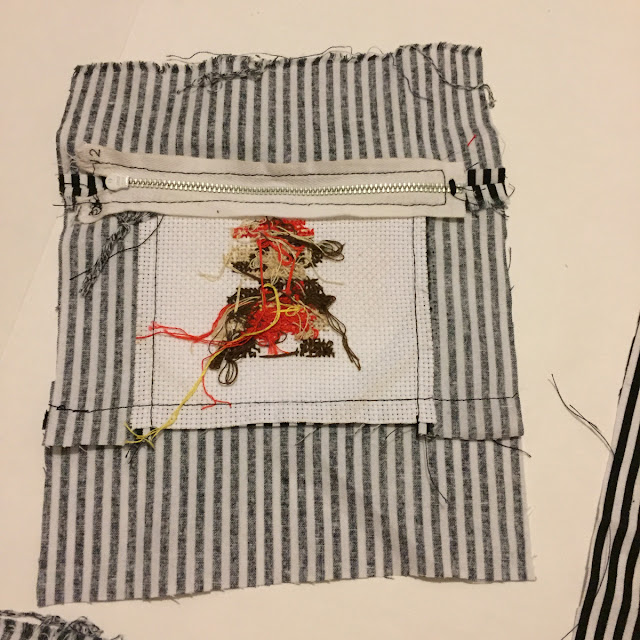
Once I had the design done on the canvas, I cut out scraps of fabric to make the bag. You'll need a long strip for the strap, one rectangle for the back, and 4 pieces to sew around the cross stitch design. I added a zipper between the design and the top of the front. Here's a view of the front piece of the bag so you can see how I pieced everything together. And yes, I am a complete newb at cross stitch. Don't be like me.....look up the proper way to tie off stitches on the back! LOL! At least when it's put together you don't notice the mess!

Here's the front, back, and the long piece that will be the strap.

Sandwich the finished strap between the front and back and sew all around, leaving a 3" hole to turn right side out!

Once it is finished you have a fun little game bag for your kids to keep their accessories! Show me what your kids are making! I'm on instagram at @sewingmamaraeanna!
My son isn't at the level to do a Mario but he's getting there!


