

I am ashamed to admit that we have lived in this great house for almost 10 years and I've let our bedroom stay plain jane!!!

I've admired a ton of blogs/home magazines/etc. and always said "I'll get to it....." but it's always been a low priority when I have a ton of other things I'd like to do! Here's a picture of me and hubby celebrating our 10 year anniversary this past July - he would officially like to thank Naptime Crafters Blog for motivating me into creating our bedroom a "Burlappily Ever After" room!!! This week is dedicated to you, babe!

If you've followed my blog or Facebook you know how much I love my Singer Futura embroidery machine! I embroidered on burlap for the first time at Christmas for a gift for my mother-in-law. I was amazed at how easy it is and how nice the end result looks!

I have 3 embroidered burlap projects to show you - 1. The "G" pillow, 2. The "N" + "R" pillows, and 3. The side table coasters!

The "Goss" burlap panel was done using the Savvy Stitches Split Alphabet! This is a beast to embroider at 15,352 stitches!!! I think it took the machine about 30-45 minutes to complete. The awesome feature of the XL-400 is you can control the speed!!! I had a 200ce previously and this design took twice as long when I made my mother-in-law's gift!

The handstitched edge of the burlap was done with embroidery floss onto a piece of cream fabric and then the fabric was topstitched onto the pillow sham. Thank you to my FB friends for helping me decide to use the cream fabric as a "frame" behind the burlap!

When I was thinking about the pillows I want to accent our bedroom I thought a matching "his" and "her" pillow out of burlap would be cute! I used the "University Font" from Jolson's Design to embroider the "R" and "N" on the burlap square!

If you want to make one it's super easy! Take a rectangle of burlap (9x18" or similar) - fold right sides together and sew along the edges leaving 3" to turn right side out - stuff and sew the hold closed! Super easy and such a great little accent! (Who else has "their side" of the bed? We've claimed these sides and I don't think we'd be able to sleep if it was switched! haha!)

The third embroidered burlap project is the custom coaster set I made with special dates! Our anniversary and birthdays will be easy to recall and will protect the side table from drink stains!

The top side is burlap and I put felt underneath as the "stabilizer" and coordinated the felt with the color of the thread for each coaster! Christian thinks they're miniature frisbees!

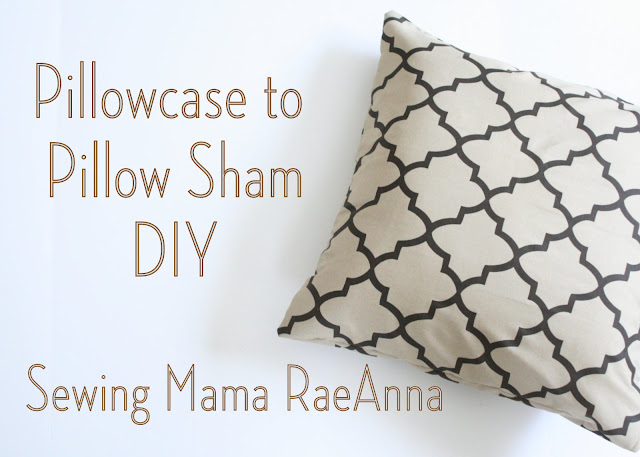
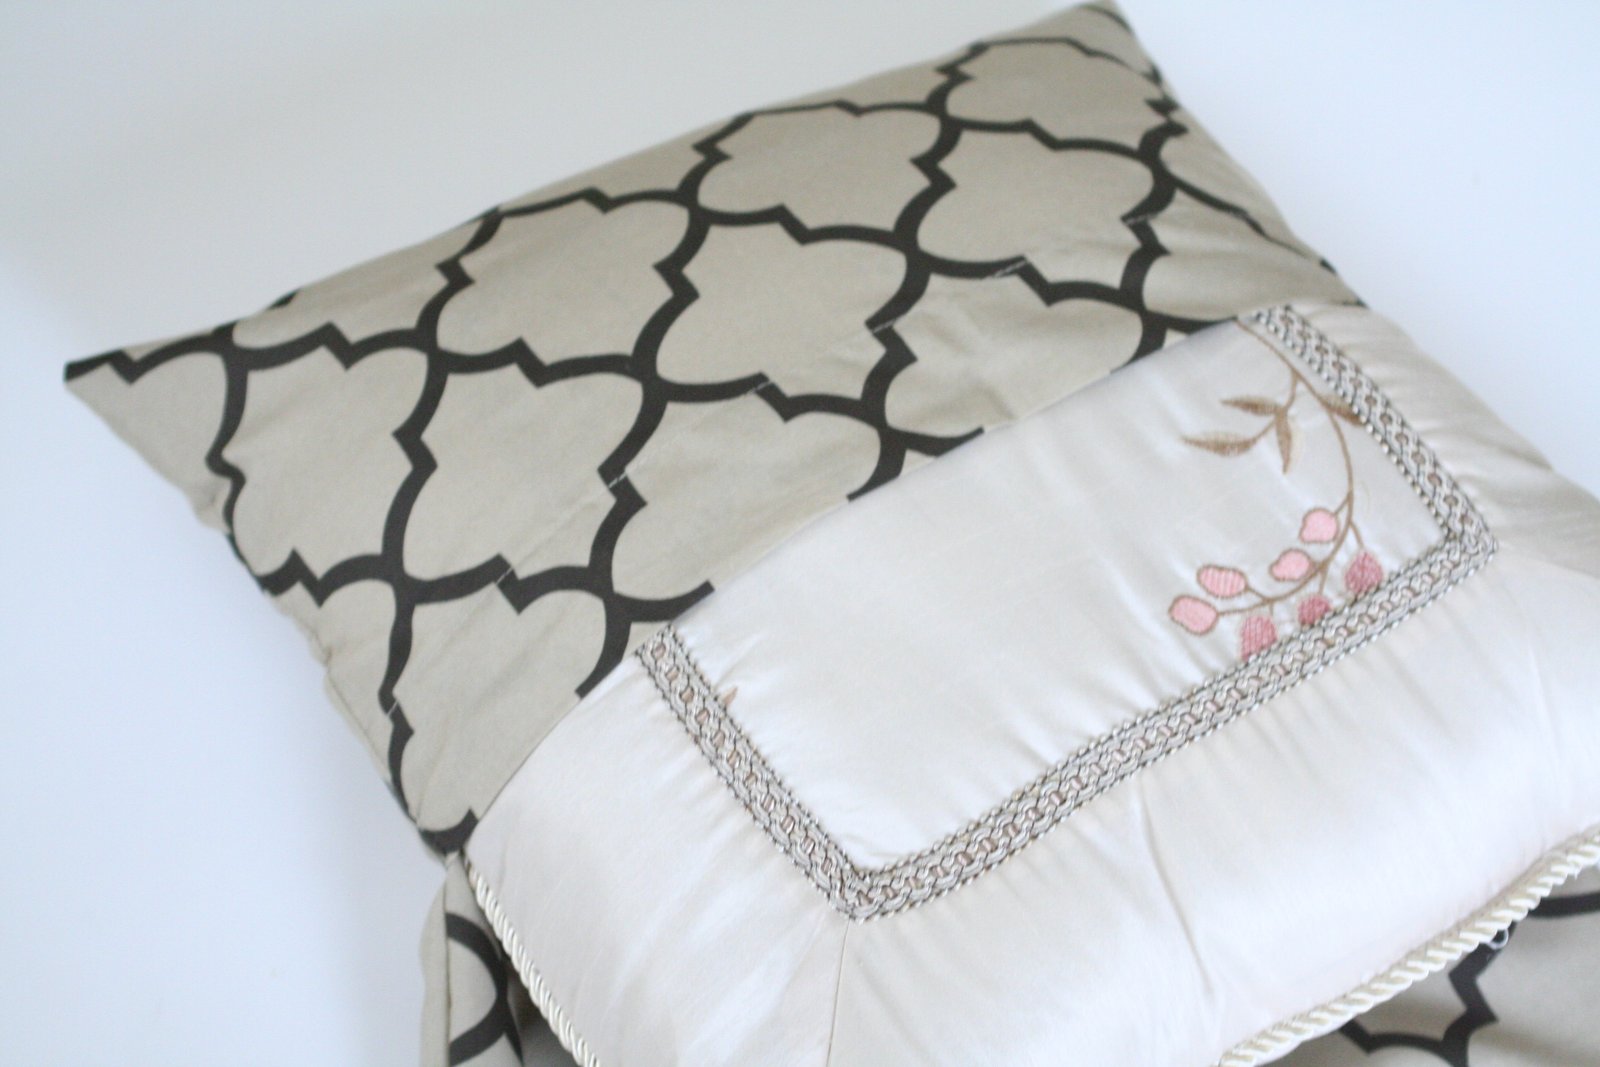
To pull together the complete look I needed a headboard! I found the geometric print used for the pillow above in a sheet set from Ross (kind of like a TJ Maxx) - the flat/fitted/pillowcase set was around $8!!! I had several ideas for what I wanted to do as the headboard but I couldn't say no to this print! I was hoping to include more burlap in the headboard but I think it looks best as a stand alone piece! (Let me know if you have any suggestions to embellish the headboard!)
To make the headboard I took a huge piece of cardboard that was a sewing measurement tool. I've never needed something so big so it's just been sitting folded up behind my sewing desk!
I pinned the fabric to the back side and made sure everything was straight. (ignore my burlap fabric scraps!)

Then I used adhesive spray to hold the fabric to the cardboard and make sure there were no wrinkles.
Using the adhesive spray and some hot glue to reinforce, I folded the edges behind - voila!


We secured the headboard to the wall with some finishing nails. The complete look came together so nicely and on a small budget! The curtain rods and panels were bought at Ross for $26 total and the white bedding (skirt, sheets, comforter) were bought off Amazon for $80. The "Family" picture collage was a Christmas gift that's been sitting in the box waiting to be displayed!

Now we can enjoy a clean and swanky bedroom.......Happily (I mean "Burlappily") Ever After!

The third embroidered burlap project is the custom coaster set I made with special dates! Our anniversary and birthdays will be easy to recall and will protect the side table from drink stains!

The top side is burlap and I put felt underneath as the "stabilizer" and coordinated the felt with the color of the thread for each coaster! Christian thinks they're miniature frisbees!

To pull together the complete look I needed a headboard! I found the geometric print used for the pillow above in a sheet set from Ross (kind of like a TJ Maxx) - the flat/fitted/pillowcase set was around $8!!! I had several ideas for what I wanted to do as the headboard but I couldn't say no to this print! I was hoping to include more burlap in the headboard but I think it looks best as a stand alone piece! (Let me know if you have any suggestions to embellish the headboard!)
To make the headboard I took a huge piece of cardboard that was a sewing measurement tool. I've never needed something so big so it's just been sitting folded up behind my sewing desk!
I pinned the fabric to the back side and made sure everything was straight. (ignore my burlap fabric scraps!)

Then I used adhesive spray to hold the fabric to the cardboard and make sure there were no wrinkles.
Using the adhesive spray and some hot glue to reinforce, I folded the edges behind - voila!


We secured the headboard to the wall with some finishing nails. The complete look came together so nicely and on a small budget! The curtain rods and panels were bought at Ross for $26 total and the white bedding (skirt, sheets, comforter) were bought off Amazon for $80. The "Family" picture collage was a Christmas gift that's been sitting in the box waiting to be displayed!

Now we can enjoy a clean and swanky bedroom.......Happily (I mean "Burlappily") Ever After!


Voting is open until Sunday night! I hope you'll pop over and vote for me!





.jpg)


