Pages

header2

Image Map

adsense

Showing posts with label project run and play. Show all posts

Tuesday, September 24, 2013

Project Run & Play Week 3 - Mad for Plaid


Today I would like you to meet Eva Mae....... no, not the cute little 21 month old - the inspirational and original Eva Mae!


This is my maternal grandma, Eva Mae Keely Smith.  I named Eva Mae after her because she was a wonderful grandma and we were so close!!!  We were also blessed to have the names "Eva" and "Mae" on Nick's side so as our Eva Mae gets older we will have a rich heritage for her to learn and be proud to know about the women in her past!


My grandma always called me her "angel girl" and was one of my biggest cheerleaders as I grew up playing piano and all of my other endeavors!  (Second of course to my wonderful parents!!!)
I always felt so much love from her and it was obvious to everyone who knew her that she was incredibly proud of her grandkids!!!


And she was also the first person to teach me to sew!  I grew up with handmade Barbie Doll clothes and we have several childhood pictures where our outfits are hand made and coordinated by Grandma!  I didn't sew outside of our occasional sewing lessons until I had Christian.  Her little "angel boy!"  She was so proud to see the creations that I started sewing for my little man!

I wish that she could have lived to meet her namesake and see how far I've come in learning how to sew and what a big part of my life this craft has become!  Our family was devastated to find out that she had leukemia and just a few months to live.  She was an overcomer and so inspirational to many people.  I put this video together the night my mom called me to tell me that she had succumbed to the cancer.


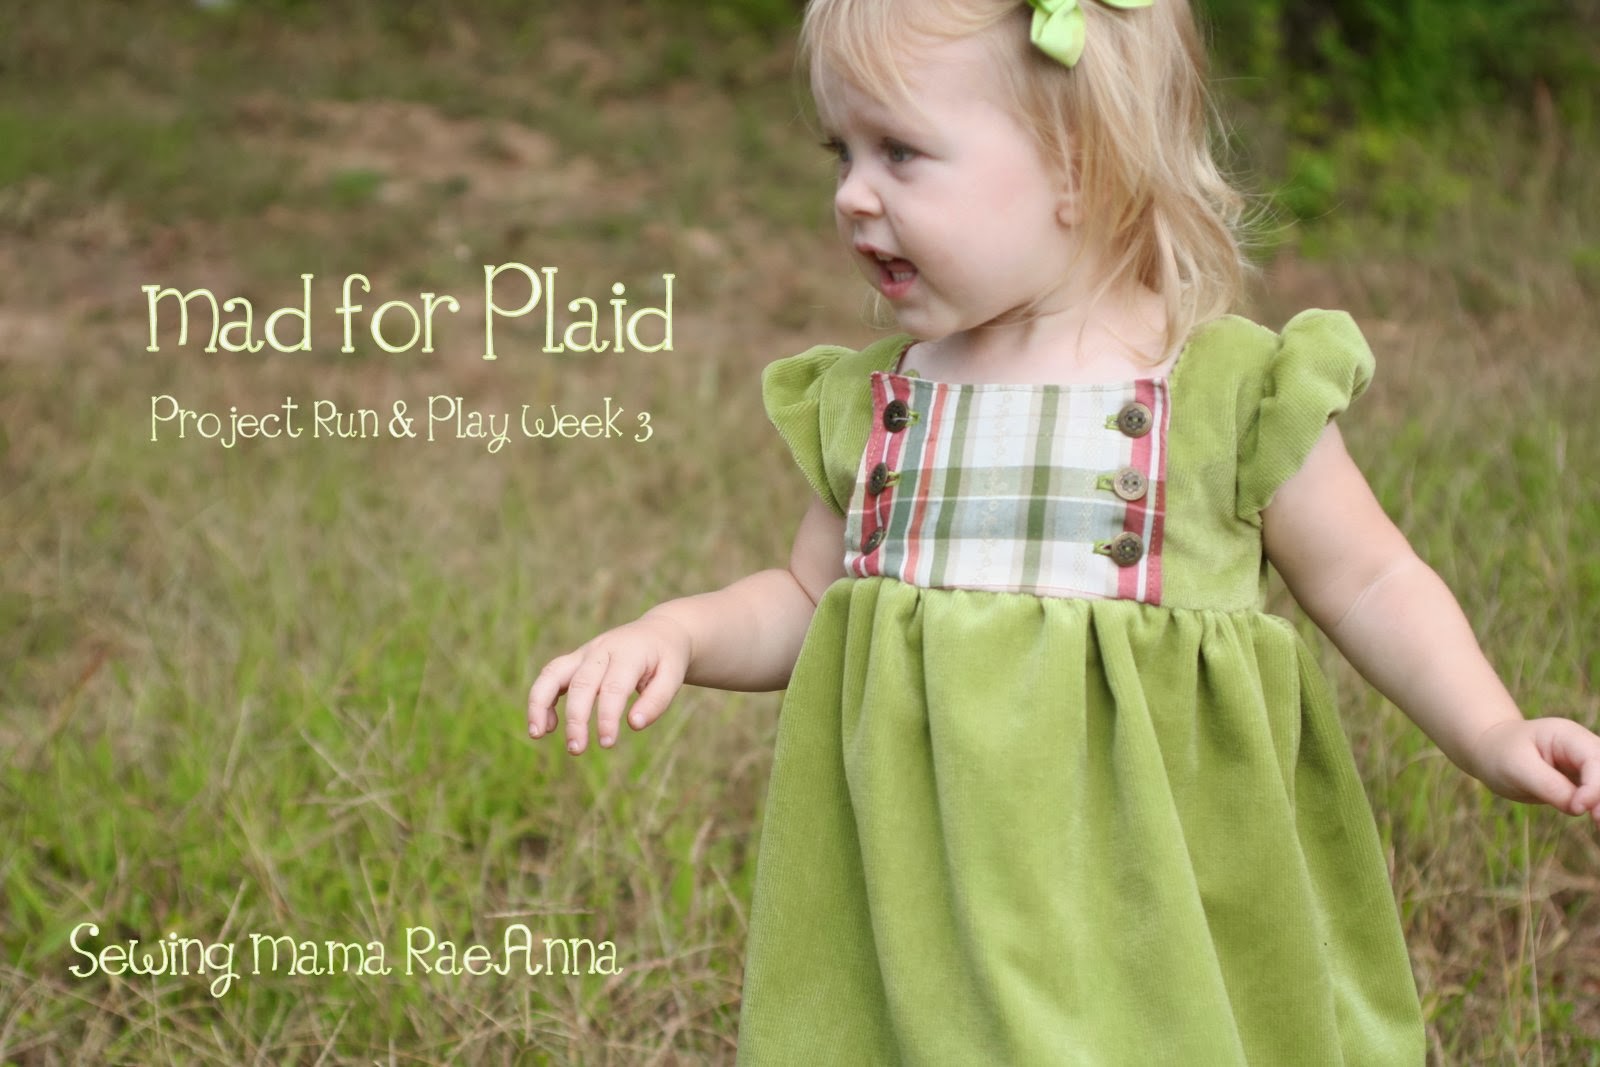
When Grammie passed away, my mom had me pick some of her clothes to keep along with other family heirlooms.  I have three plaid blazer/shirts and I knew exactly what I wanted to do when the plaid week was announced!  I would pay tribute to the woman who taught me to sew by creating a look for her namesake out of her clothes. *insert tears here*

 I picked this shirt because of the beautiful floral embroidery within the plaid.


I also knew that I didn't want to make a dress completely out of the plaid so the Junebug pattern by Craftiness is not Optional was a perfect starting point!


The main corduroy is a light green fabric from Chez Ami and I love the high quality feel and how easy it is to work with! I also lined the inside of the bodice with the plaid fabric from my grandma's shirt.
 

I re-purposed the buttons on the shirt to be used on the front flap of the dress! 


Even though Eva Mae won't be able to wear this dress for long since our little ones grow too fast, I'll always have these pictures and I can also pass the dress to my brother for his little girl!  We were blessed that Grandma was healthy enough during her battle with cancer to attend my brother's wedding!  I know she would also be so proud to know my adorable niece, Baby Grace!

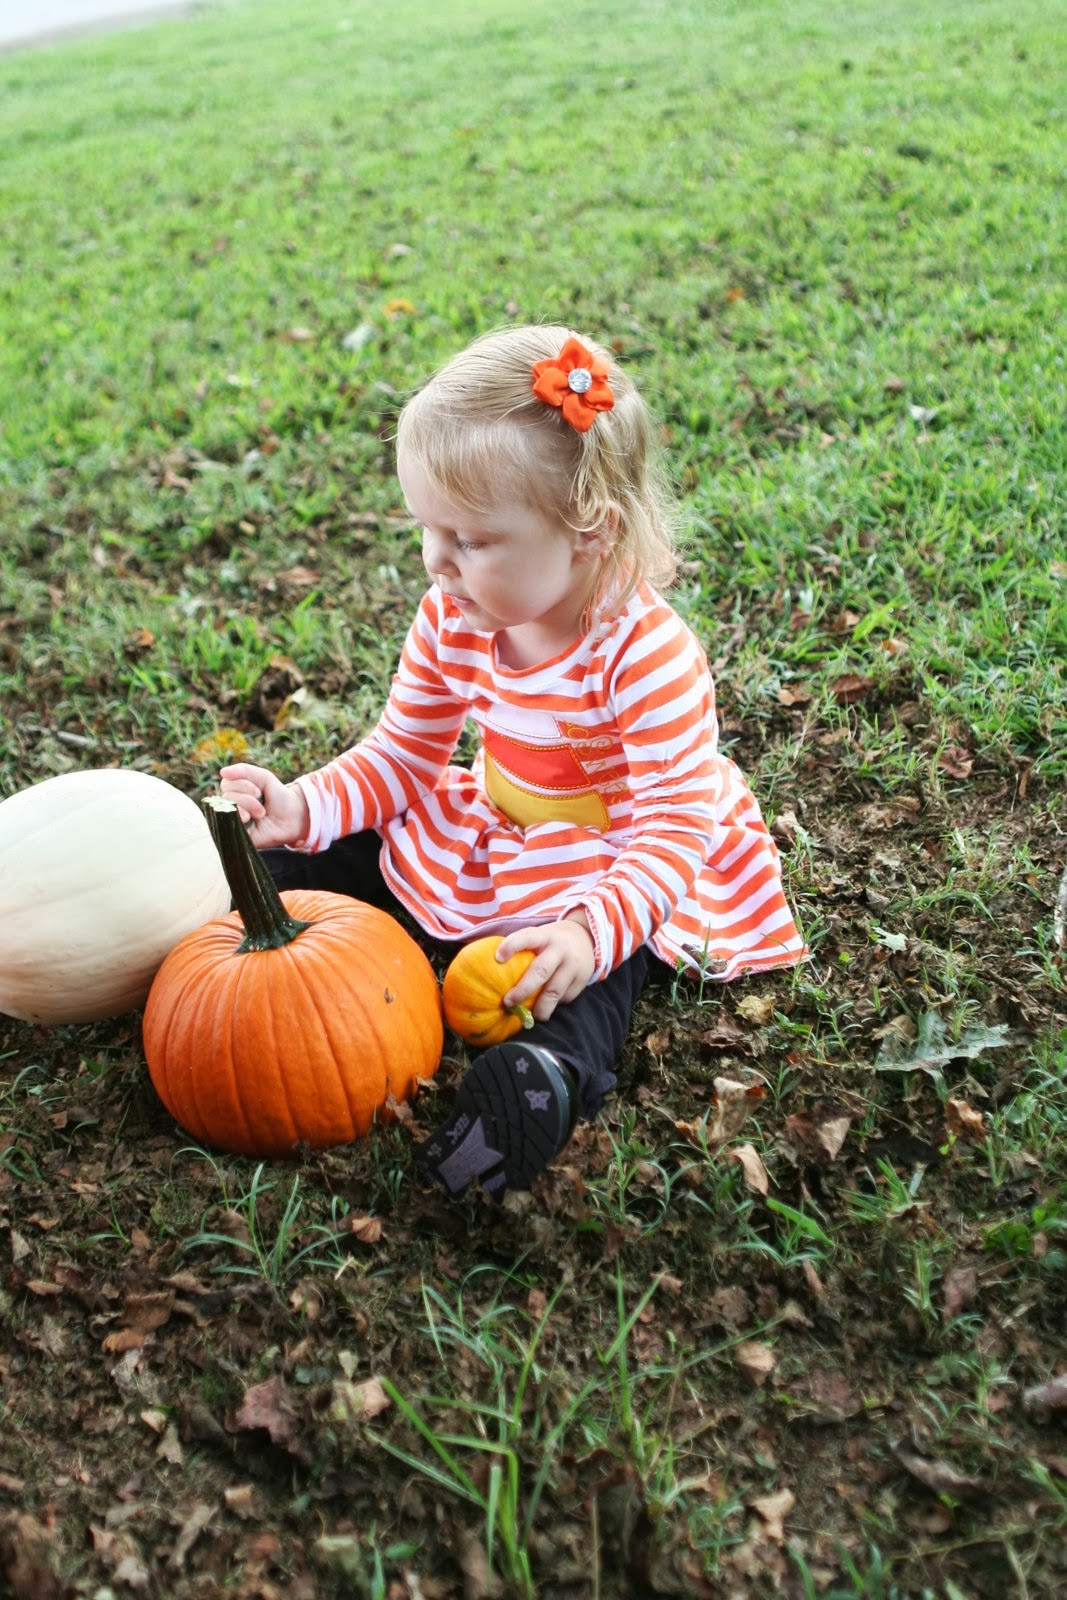
Thank you for letting me get personal in this blog post and share my love for my grandma in this sewing challenge!  I'll leave you with a fun little outtake from our photoshoot......

Mad for plaid??? No, just mad!
 
Sewing Mama RaeAnna Blog


 Follow on Bloglovin

Sunday, September 15, 2013

Candy Corn Cutie - Project Run&Play Week 2


It's week 2 in the Project Run & Play Series!!!
 I'm sure there will be a TON of candy corn themed outfits this week since the theme is CANDY!!!! 


I just love this applique - it's from Planet Applique and called "Whimsical Candy Corn." I love the asymmetry of it!  I merged in the letters to say "so sweet" instead of Eva Mae's name this time.  She has so many monogrammed clothes I thought this time we would go generic!


The stripe fabric is from Riley Blake - they have a new line of knits!!!!!  I was so excited to see the release!  In fact, I will be posting a tutorial on an adorable applique project that you can do with the Riley Blake fabrics and a regular sewing machine!  You won't need an embroidery machine for what I have lined up for you!  I will post a link to the Riley Blake blog when it's available.  I'm scheduled to post on October 18th.


My favorite detail on this adorable shirt is the shirring on the sleeves!  I started with an Ottobre design for the top and added a gathered skirt section to the bottom of the shirt to make it a little dress!


I mainly used my serger to construct it all but I used a double needle on the bottom hem and sleeve hems!  I wish I had noticed that the bottom hem was flipped up in all these pictures! haha!  It's hard following a toddler around - she is always on the move!
 
 
I have to say that the quality of the knit by Riley Blake is sooooooooo nice!  It was a lot of fun putting together this look and touching the soft and stretchy fabric!  (Am I the only one that pets fabric?)  I was so proud of myself on the collar too - look at how that stripe lines up so nicely!!!


And I have to give a shout out and thank you to Lynn who let me come to her farm to pick pumpkins!  We were going to do our photoshoot there but Eva Mae would not let me put her down!  This was the best shot I got on the farm!


We ended up buying some pumpkins and taking them to the park for our photoshoot!  Better than nothin'!  Now, the pumpkins are sitting on our front porch and will be used in some decorations for a booth I have at a festival next weekend!  My first craft booth!  Woo hoo!  I've been busy getting everything ready - I have a plan for next week's sew along (Theme: Plaid) but I'm not sure how successful I'll be in executing with the limited amount of time available...... I'm also starting on Christmas Pajama orders!!!  They look so cute!

Sewing Mama RaeAnna Blog

Monday, September 9, 2013

popOVERALLS - PR&P week 1!


This was such a FUN outfit to make and it's perfect for the fall!  I love overalls on little kids!  Sure, they're not super practical when you have to change a diaper (even snaps are a pain to open and close!) but they look so sweet on little bodies! 


I hope you can tell the silhouette of the Popover Sundress on this romper!  When I thought how I wanted to remix the pattern I had several ideas in my head.  This version seemed the most practical for my baby girl!  She already has sooooo many dresses and I wanted to give her something that would be easy to wear, comfortable and perfect for the upcoming chilly weather!


Are you ready to make one for yourself????


You'll need:
Popover pattern (FREE!)
Measurements for your child's chest/rise/inseam
Pair of pants to trace
Fabric/scissors/bias tape/thread/buttons/pins
(When I say "finish seams" I am using a serger to finish off the raw edge.  You can use a zig zag or pinking shears anytime you see me mention "finish seams".)

You will be using the top of the Popover but trimming the sides and adding the pant inseam.  Use an existing pair of pants to trace the front and back and add that to the top of the Popover pattern.  You will NOT be cutting on the fold.  I felt that the sundress was already wide enough that having the center seam would not hurt the chest measurements.  If you feel your child is wide in the chest you may want to add an extra 1/4" to the sides of the pattern to account for the center seam.


Place the pattern on your fabric and cut two for the front (mirrored) and cut two for the back (mirrored)
 

 Sew the front center seam on both the front and back (the "J" shape) and finish the seam.  Press open.


Place front and back right sides together and sew the side seams.  Finish seams and press open.
 

Don't sew the crotch seam yet - I forgot to document this process with pictures but I will do my best to explain!!!
First, make sure you know the inseam of your child.  Eva Mae was sleeping so I used a standard inseam of 12" and it's about 2" too long so her ruffle bottoms are a little big! LOL!  Take your pants inseam and cut off 3".  Add a ruffle to the bottom of the pants hem that is 4" tall and 2x the length of the pant leg. Hem the strip on the bottom (turn up 1/4" to the wrong side and 1/4" again.  hem close to the folded edge.) Then add a basting strip to the top of the strip.  Gather and pin around the pant leg with right sides together. Sew the ruffle to the bottom of the pant hem.  Finish the seam.  Press the seam up and the ruffle down and top stitch along the pant hem.  Repeat for the other leg.
NOW, sew the crotch seam.  With right sides together, sew from the bottom of one ruffle leg up around the crotch seam and back down to the other leg.

To finish the top, you will use the yoke from the pattern.  For the front, keep the yoke the same.  For the back, you will cut down the top fold creating two pieces.
 

Again, I forgot to photo document all the steps, but follow the pattern directions for adding the front yoke to the top of the overall bodice.  (I embellished with some ric rac during this step!)

 To create the back straps, measure how long you want your straps and sew the strap fabric right sides together and turn right sides out and press.

Sandwich the straps between the back yoke pieces.  Sew a straight stitch across the top of the yoke section and turn right sides out and press.  Attach the back yoke to the overalls in the same way you attached the front yoke.
 

Now, since we are not making the shoulder ties, we have to use bias tape (store bought or homemade) to finish the arm hole edges.  To do this, you will fold the bias tape over at the beginning and the end of the arm hole edge.
 

Place the bias tape right sides to the overalls wrong side.  Match up the raw edges and sew along the crease.  Turn the bias tape over and sew again along the fold "stitching in the ditch" to attach the bias tape to the arm hole.

Optional:  Add a pocket!
I used my embroidery machine to applique a patch for a pocket.  I placed the patch fabric right sides together with some lining and then turned right sides out and attached to the front of the overalls - sewing only the side and bottom to create a working pocket.


The final step - add buttonholes and buttons to the front yoke!!!
 

Clear as mud?!  The hardest part in converting this pattern to overalls is getting the measurements right for the length and inseam!  If you get that down you will have an adorable pair of overalls for your little girl this season!!!  I also think that if you leave off the ruffle hem and ric rack on the yoke this could work for a boy!!!  What do you think? 
 
I posted on my facebook wall that I could NOT BELIEVE how big my daughter was by looking at a pair of hanging overalls.  I thought "surely these won't fit" when I finished sewing!!!  And yes, I did goof on the length but at least she will be able to wear them a while and grow into them!  If needed, I can adjust the buttons lower on the straps and she can wear these next year too!


I had hoped to take pictures at a store we used to have called the "Apple Barn" - I was bummed that it never reopened when our mall was finished with renovations.  Instead I got some cute shots of Eva Mae playing on the stage and in the kid area!
 

Isn't it fun when people compliment your kid's clothes?!  I need to start carrying around business cards!  I keep forgetting to put them in my purse!  I had several people come up and tell me how cute her outfit was but I just smiled and said "Thank you so much" this time instead of "Thanks!  I made it!" ;-) 


  I can't wait to see what other creative remixes are going on in this first week of Project Run & Play!  Come back next week for some fun orange and white candy inspired outfits!

Sewing Mama RaeAnna Blog


 Follow on Bloglovin

LinkWithin

Related Posts Plugin for WordPress, Blogger...